Posted on Leave a comment

Easy and Healthy Oat Cookies- No Sugar | No Butter | No Refined Flour

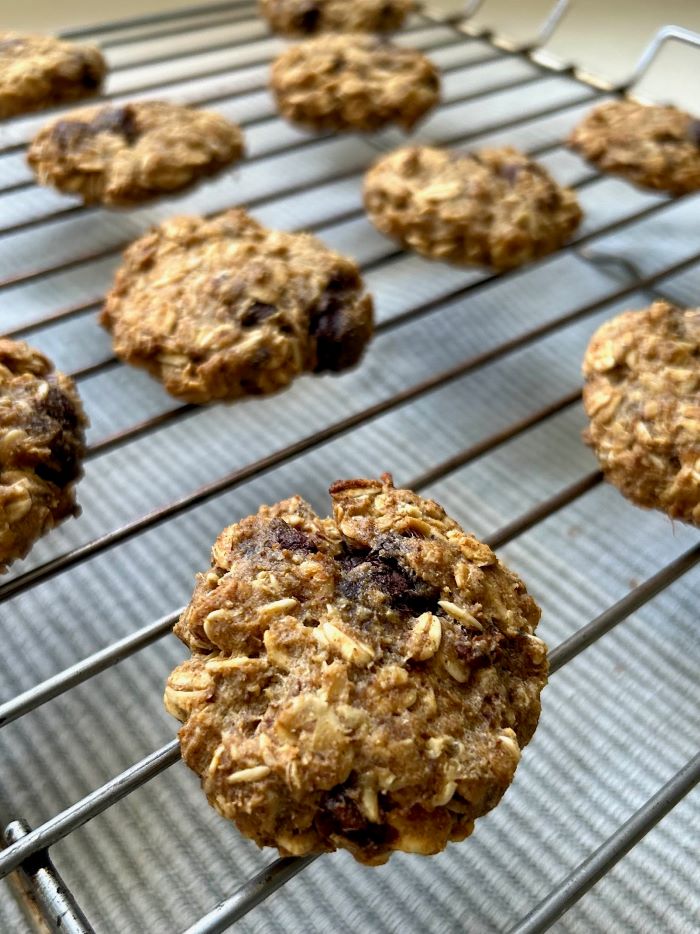
If you are looking for healthy cookies recipe for your kids, this is it! These soft, chewy, perfectly sweet and wholesome cookies will be your go to recipe. I highly recommend this for your sweet cravings and pick-me-up snack moments.

Being a mother I am always on a look out for healthy snacking options for my child. I hate to give him sugary packet snacks everyday. While they are ok as once in a while indulgence but I get wary of all the artificial flavours, preservatives and processed sugar added in bakery cookies. 
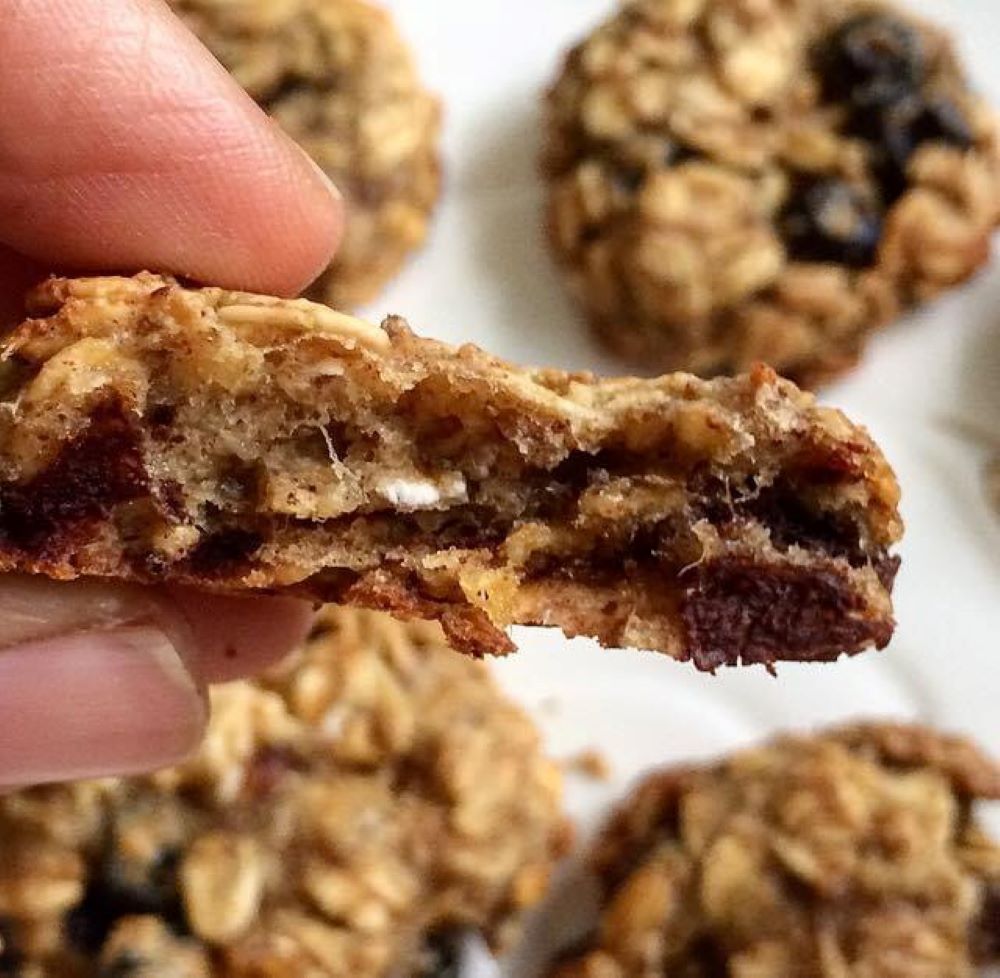
These cookies have the goodness of whole-grains, oatmeal, egg and dates as prime ingredients. The natural sweetness and moisture come from a fruit, dates and coconut oil. The best part about these cookies is that they are one bowl cookies. No endless use of utensils and whisking is required. 

Main Ingredients and their Substitutes

Rolled Oats: I have used rolled oats or old fashioned oats here because they are better for baking. However, you can also quick oats. Quick oats will give you a slightly uniform texture. I however, prefer the taste and texture of rolled oats

Wholewheat Flour: I have added wholewheat flour for more fibre. Also, it brings together the cookie dough and gives nice crunch to these cookies. 

Apple: I like to add an apple in the cookies for moisture and natural sweetness. You can totally substitute apple with either a banana or applesauce. 

Virgin Coconut Oil: Coconut oil offers an almost direct substitute to butter. It lends a sweet but subtle flavour to bakes. You do not need to use as much coconut oil to get the same fat content as butter, since butter comprises 20% water. You can use butter here if coconut oil is not available. Just increase the butter by 20%.

Egg: Egg not only adds more protein and nutrition in cookies but it also helps to bind and improve texture of the cookies resulting in more light and chewy cookies. However you can totally make them eggless too by substituting 1 egg with flaxmeal. 1 tsp ground roasted flaxseeds in 4 tbsps water. Let it sit for 10 minutes. Use this mixture in place of egg or use 1/4th cup of greek yogurt. 

Dates: I have added dates as a natural replacement for sugar. Dates are also rich in iron, fibre and antioxidants. If you want to substitute dates in this recipe, you do that by adding 1/4th cup of pure maple syrup.

Dark Chocolate: Use a good quality dark chocolate, atleast 70%. You can totally substitute it by adding raisins, black currants, cranberries, walnuts, dried blueberries or any other dried fruits or nuts of your choice.

Now let’s get to the recipe

Recipe: makes 14 to 15 cookies

Ingredients 

  • Rolled Oats: 1 cup
  • Wholewheat flour: 1/2 cup
  • Apple: 1 medium
  • Virgin Coconut oil: 3 tbsps
  • Egg: 1 
  • De-seeded dates: 4
  • Baking powder: 1/2 tsp
  • Cinnamon powder: 1/2 tsp
  • Vanilla Extract: 1 tsp
  • Dark Chocolate chunks (70%): 1/2 cup

Method:

  • Soak dates in hot water for 10 minutes to soften it.
  • Sieve wholewheat flour, baking powder and cinnamon in a large bowl. Now mix rolled oats. Keep aside. 
  • In a blender, crack an egg or add flaxmeal/yogurt. Add chopped apple, softened dates, vanilla and oil. Blend this mixture to a purée.
  • Now add wet ingredients to dry ingredients in batches. Mix till everything incorporates well. Do not over mix. Cut and fold gently.
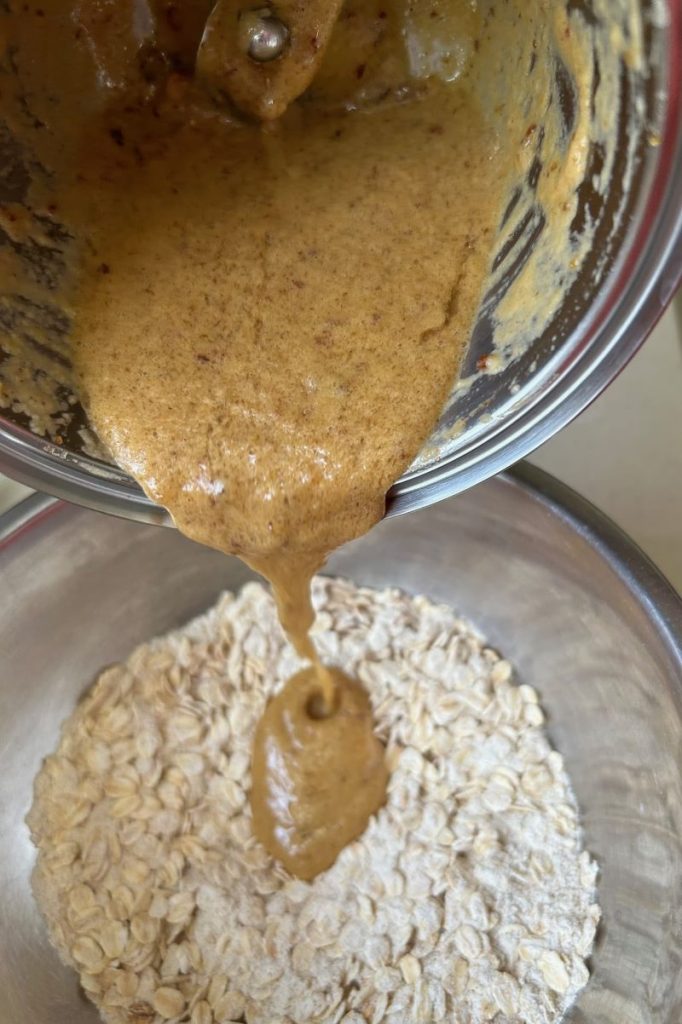
  • Add chocolate chunks and mix well. The mixture will be moist at this time. You can refrigerate the cookie dough for 30 minutes. It will become easier to give it a shape. Also, the oats will absorb the flavour and soften.
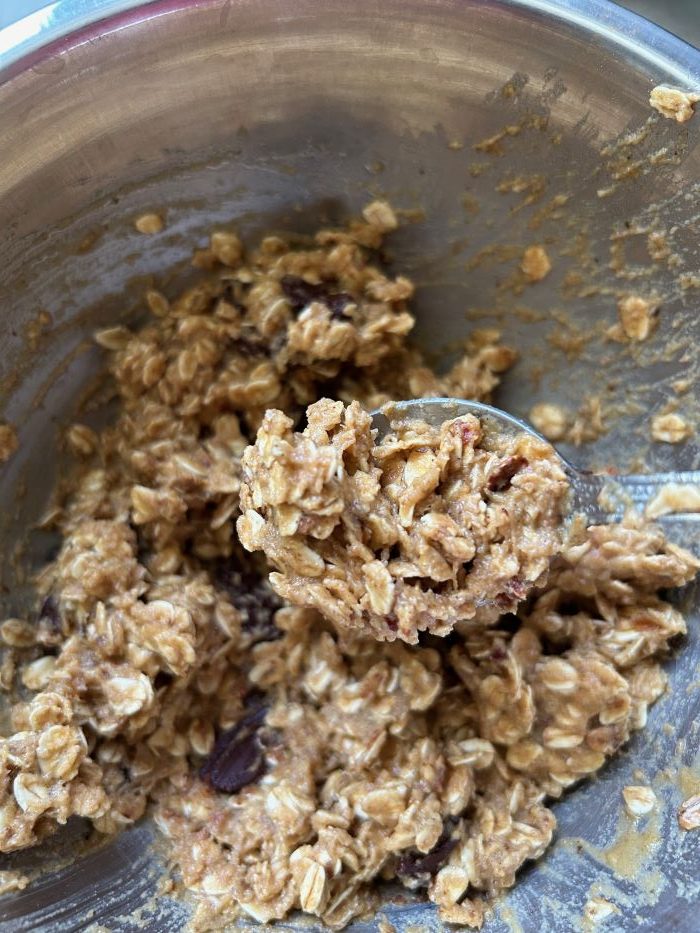
  • Line baking tray with a baking paper or a silicon sheet.
  • Take one tbsp scoop and scoop out the mixture on the baking tray. Scoop will give you even size cookies. Flatten a little with a back of a spoon.
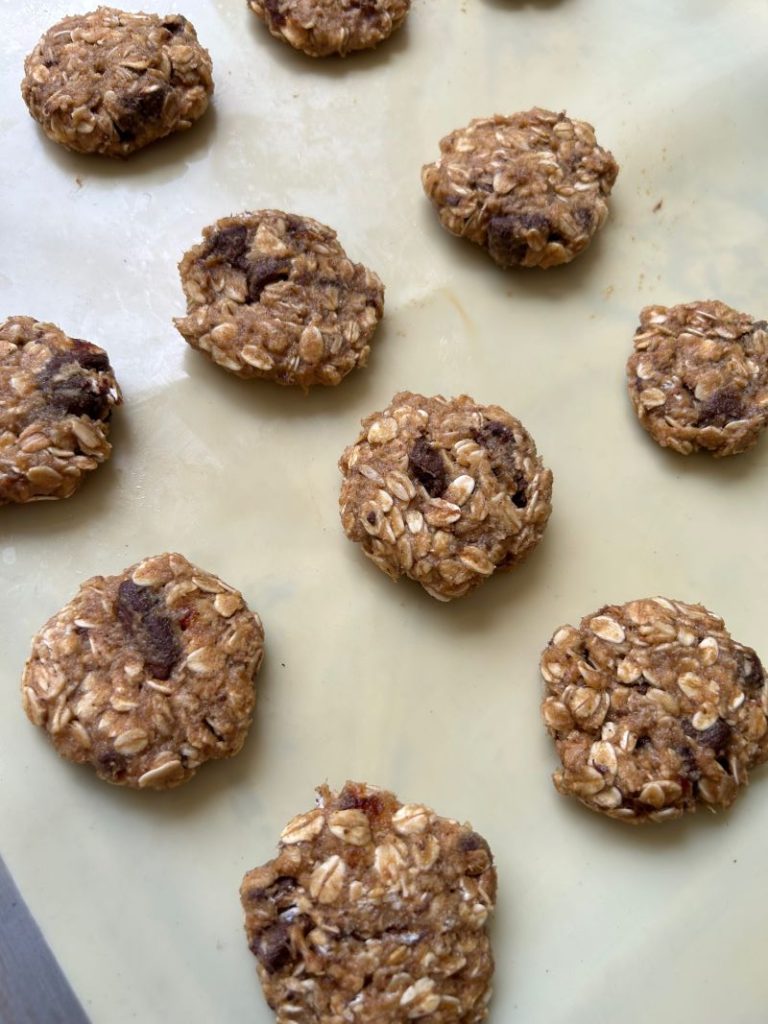
  • Bake in the preheated oven for 10 to 12 minutes at 180 C
  • Transfer on a wire rack. Allow it to cool. Once cooled, store in an airtight container.

How to store

These Healthy Cookies store well for a few days, so you can make a batch on the weekend and enjoy them throughout the week. Store in an airtight container at room temperature or in the fridge for up a week. They will soften further as they sit in the container making it perfect for toddlers. 

You can also try more of such healthy bakes- Healthy Carrot Orange Marmalade Cake and Wholewheat Banana and Jaggery Cake. 

Do give these healthy cookies a try. I am sure you and your kids will love it. Let me know in the comment section below if you do give it a try. It will be great to hear from you guys. Stay Healthy! 🙂

Posted on Leave a comment

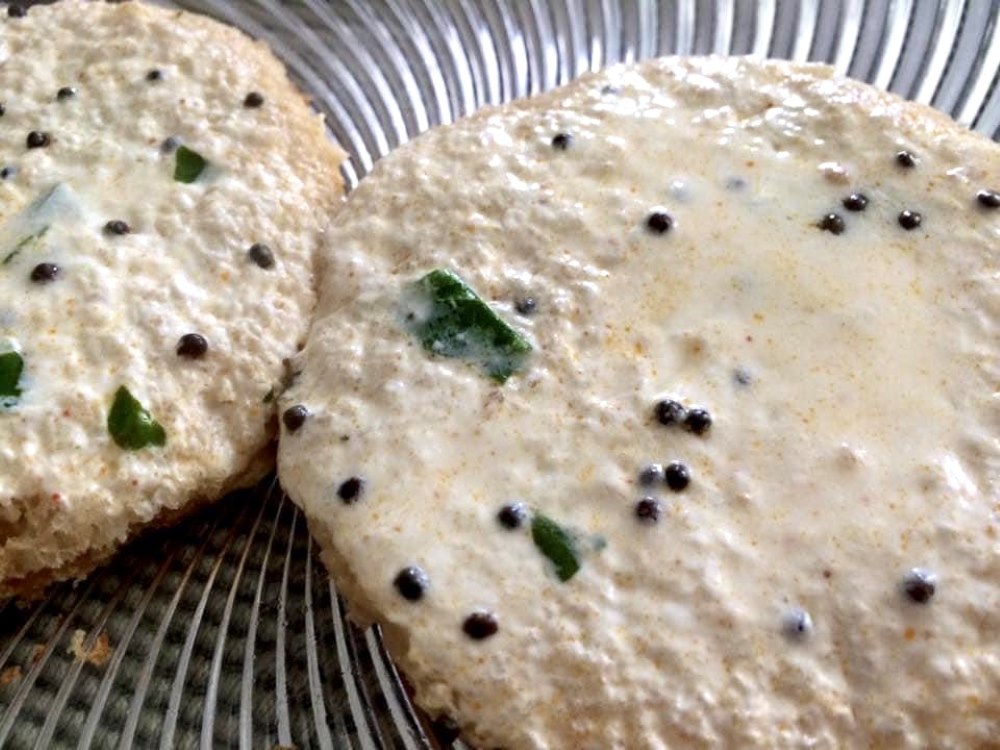
Instant Masala Bread Idli- Easy Breakfast Recipe

Instant Masala Bread idli is delicious protein rich breakfast. They are air light, super easy to make and above all healthy. I can bet you can’t stop at one. This is one of my favourite breakfast recipes. Easy, simple with no fancy ingredients required!

It is like a slice of bread with a filling of your choice on one side and steamed tempered yogurt on the other side, adding different textures to this simple yet delicious dish. It’s creamy, soft and crispy- all of that in one slice of bread. 

I had these bread idlis for the first time some 17-18 years back at my Aunt’s house and instantly fell in love with it. Years later when I got married, I remembered those instant bread idlis and wanted to make it for my husband and child. Just like me, my family too totally loved it.

You need very basic ingredients for this recipe- bread slices, either brown or white bread, thick yogurt or homemade curd and Indian cottage cheese (Paneer) or potatoes.

I shared this recipe in one of the food community groups on facebook, Eatlo and it was such a huge hit. I was amazed to see that hundreds of people tried this recipe and the feedback was just fantastic. If you talk about food just as much as you eat, you should definitely join this community. It’s a safe space where you can share your cooking adventures, know more about different cultural and regional foods, ask for recipes, get health tips and interact with food enthusiasts all over the world.

Now without further delay let’s see how you can make this delicious recipe

Recipe: serves 3

Ingredients: 

  • Bread slices: 8
  • Oil/Ghee for Cooking

For Tempered Yogurt/Curd

  • Thick Yogurt/Curd: 1.5 cup
  • Mustard seeds: 1/2 tsp
  • Curry leaves: 1 sprig
  • Asafoetida/hing: a pinch
  • Oil: 1 tbsp
  • Red chilli powder: 1/4th tsp
  • Salt to taste

For Paneer Filling

  • Paneer: 150 grams
  • Coriander Leaves: handful 
  • Capsicum: 1/4th cup; finely chopped
  • Salt to taste
  • Minced Garlic: 1/4th tsp
  • Red Chilli Powder: 1/4th tsp or to taste
  • Garam masala: 1/4th tsp
  • Roasted Cumin Powder: 1/2 tsp
  • Raw Mango Powder: 1/4th tsp
  • Green Chilies: 1; finely chopped (optional)

Method:

  • Whisk thick yogurt/curd to get a smooth consistency. 
  • Now heat oil in a small pan. Add mustard seeds and hing. Let it splutter. Switch off the flame and add curry leaves, salt and red chilli powder. Let it sit in hot oil for 15 seconds and then add this tempering to yogurt and mix well. Keep aside.
  • Cut bread slices in roundels using a bowl or a round cutter and keep aside.
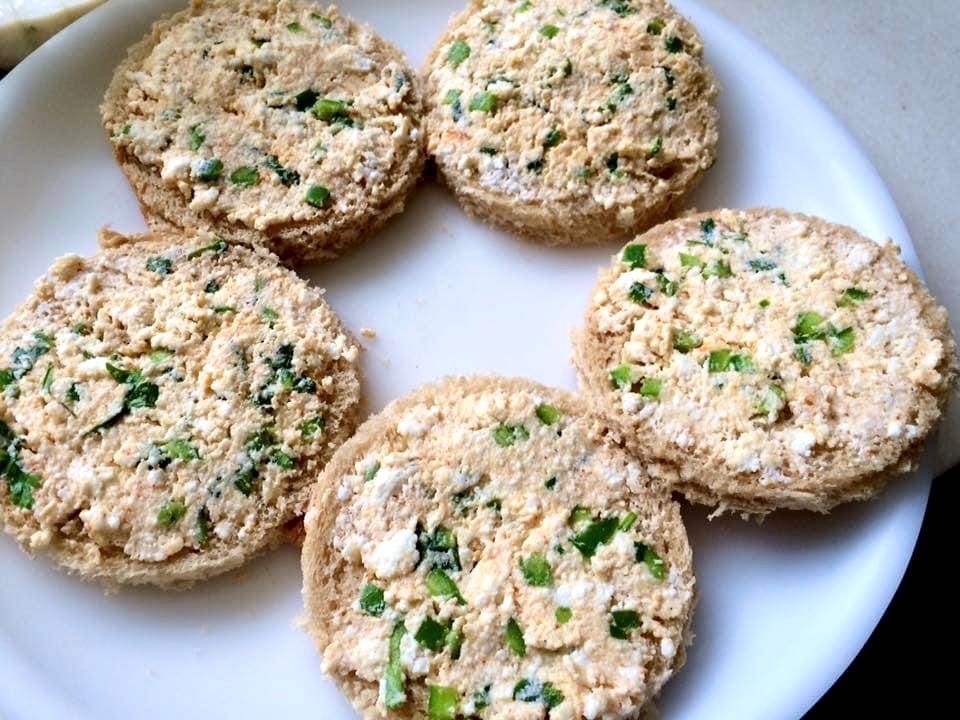
  • Crumble paneer in a plate. Add finely chopped capsicum, coriander leaves, minced garlic, salt, red chilli powder, garam masala, cumin powder and raw mango powder. Mix well. Check for seasoning and your filling is ready.
  • Now take the bread slice and spread the prepared filling on one side. Do not make a very thick layer. 
  • Heat a non stick pan to a medium heat. Brush it with some oil or ghee. 
  • Now put the filling side down. Reduce the flame to the lowest. On the top, apply the prepared tempered yogurt. Do not overload it with curd but put a generous amount so that the bread is coated well. 
  • Cover the slice with a large bowl. The idea is to steam the yogurt side and make the filling side crisp. This should take about 3-4 minutes to cook. Keep the flame low.
  • Cook till bottom side becomes golden brown. 
  • Serve hot with chutney of your choice.

Notes: 

  1. You can choose the filling of your choice. I also make this with potatoes. Just replace paneer with potatoes. 
  2. Always cook bread idli on low flame. Otherwise the bottom side will be cooked and yogurt side will not get time to get set. 
  3. Serve it immediately or the bread will become soggy.
  4. For leftover bread sides, you can toast them in the oven and turn into bread crumbs.
  5. If the yogurt or curd you have is watery, simply line a colander with muslin cloth. Add yogurt/curd and keep it refrigerated for an hour. This will drain the excess whey.

For more quick yogurt recipes you can try out my quick and absolutely delicious Hung Curd Spinach Cheese Sandwiches

Do try out this recipe. I promise you will not be disappointed. Let me know in the comments if you do try. Would love to have your feedback. Happy Cooking! 😊

Posted on Leave a comment

Wholewheat Jaggery Banana Tea Cake aka Healthy Banana Bread

I am a mother of a ten year old. Now, all the mothers out here will agree with me that when it comes to kids, we always try to find healthy ways to feed them their favourites.

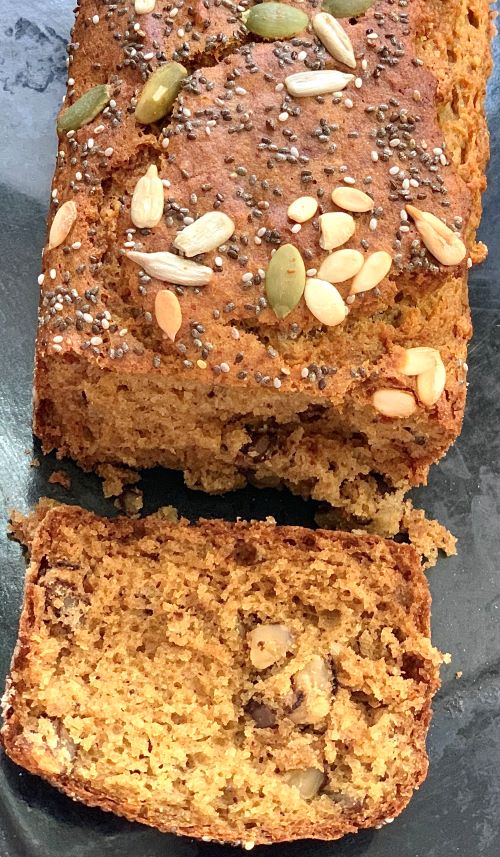
I absolutely love Banana Bread. I think the true existence of bananas were to become over ripe and transform into banana bread. This Banana Cake comes out insanely delicious and is so much more healthier for you. It is dairy free with goodness of wholewheat flour, jaggery and walnuts. Bananas add such a brilliant taste to baked goods that it amazes me every time. The gooeyness of bananas combined with nuttiness of wholewheat flour and earthiness of jaggery makes this banana cake irresistible. This gets polished off at my house before I even know it. I barely get to eat a slice.

Ingredients used that make this Cake Healthy and their Substitutes

Wholewheat Flour: Whole wheat flour is a whole grain that provides more fiber and other nutrients naturally than refined enriched flours. It can be used in place of all-purpose flour in baking and cooking. However, if you don’t have wholewheat flour, you can try this recipe with combination of other flour like rolled oats flour, finger millet or gluten free flour.

Jaggery Powder: It gives banana bread its rich caramel flavour. It is so much more healthier than refined white sugar. Jaggery has cleansing properties that help clear the lungs and respiratory tract. Other health benefits of jaggery include improved immunity, anaemia prevention and improved digestive health. If you do not have it on hand, the you can use coconut sugar, unrefined palm sugar or any other unrefined sugar.

Egg: Apart from nutrition, egg adds structure and texture to banana bread. If you want to make this cake eggless, you use 1/4th cup of yogurt or milk of your choice as a substitute of 1 egg. This will yield similar results.

Cinnamon: With its warm, sweet and slightly spicy flavour cinnamon adds a lot of depth to baked goods. However, if you don’t want to use it, you can omit it.

Walnuts: Walnuts provide great flavour, texture, and a beautiful crunch to banana bread. They have a mild and creamy taste which makes them perfect for cakes. You can skip them if you don’t like or add chocolate chunks or chips or toasted almonds in this recipe. You can also add dried fruits like raisins, dried cranberries, dried blueberries etc.

This recipe is absolutely fuss free and easy peasy. It requires no endless whipping and whisking. Just throw everything in the blender and then mix dry ingredients with wet ingredients. That’s pretty much it. With little effort required, this Banana Bread will fill your house with the beautiful aroma that feels like a warm hug. If you want more of such fuss free healthy cake recipes, you can try my Wholewheat Carrot Orange Tea Cake recipe too.

Recipe

Ingredients

  • 1 cup Wholewheat Flour
  • 2 medium size over ripe Bananas
  • 1/3rd cup Jaggery Powder
  • 1 large Egg
  • 1/4th cup Coconut oil/Olive oil/Non-fragrant Oil
  • 1/2 tsp Baking Powder
  • 1/2 tsp Baking Soda
  • 1/4th tsp Cinnamon Powder
  • 1/4th tsp Salt
  • 1 tsp Vanilla Extract
  • 1/2 cup chopped Walnuts
  • 1/4th cup mixed Seeds of your choice (optional)

Instructions

  • Preheat oven at 180 C ten minutes prior to baking.
  • Line a 6 by 3 inch rectangular pan with a parchment paper or alternatively grease baking tin with oil and dust it with some flour.
  • In a blender or food processor, add bananas, oil, jaggery powder, vanilla extract and egg and blend till everything combines well.
  • In a large bowl, sieve wholewheat flour 3-4 times. This will add more air and will ensure that the cake doesn’t get a dense texture.
  • In the same bowl, sieve baking powder, baking soda, salt and cinnamon powder. Add chopped walnuts to dry ingredients. Mix everything well and keep aside.
  • Now, add wet ingredients in the blender to dry ingredients in 2 or 3 batches. Cut and fold gently each time. Do not over mix the batter.
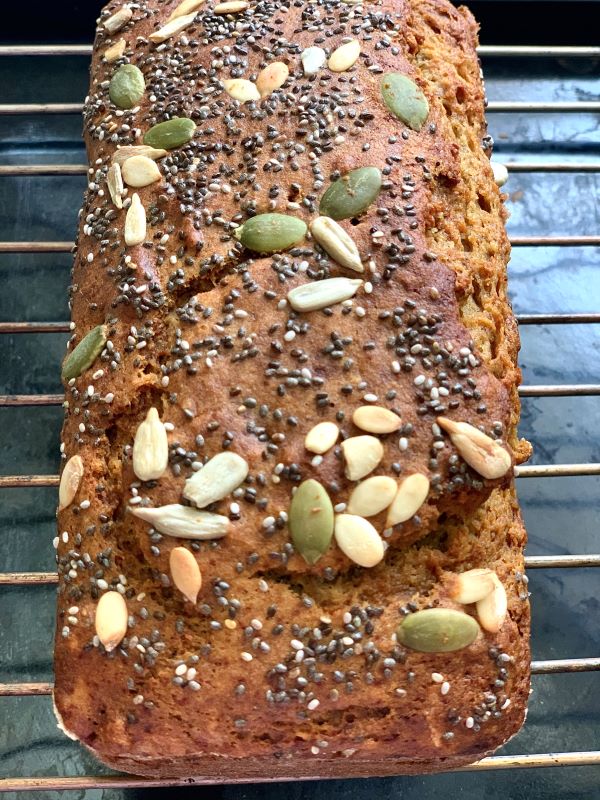
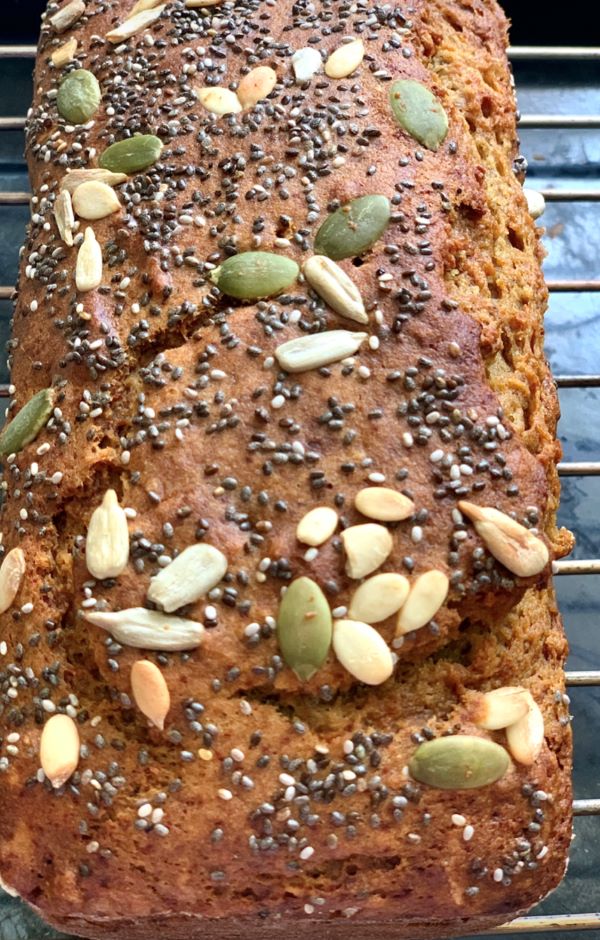
  • Add the prepared batter to the cake tin. Top it with mixed seeds. Tap the pan on the shelf 2-3 times to clear out all the air bubbles.
  • Bake for 35 minutes or till toothpick inserted at the centre comes out clean. Allow it to cool for 15 minutes in the pan. To remove the cake from the pan, simply run a blunt knife around the edges and invert on the wire rack. Tap the pan 2 or 3 times and the cake will slide out.

Pro Tips

  1. Use the yellowest of bananas. Actually, the blacker the better. Over ripe bananas are the sweetest and are perfect for baking.
  2. Ensure the jaggery powder is smooth and fine to avoid grainy batter. You can sieve the powder to get rid of grainy bits.
  3. This cake will be a little more moist than your usual cakes because of the use of jaggery and bananas, so let it cool completely before trying to turn it out or you will end up breaking it.
  4. This recipe can also be used to make muffins. It will give 8 to 9 muffins.


Posted on Leave a comment

Best Homemade Fresh Strawberry Popsicle Recipe

Temperatures are literally skyrocketing this year in India. In this unbearable heat, you just can’t ignore the craving for something cold and refreshing. What better way to kick that summer heat off than with Homemade Popsicle made with fresh fruits. They can be your perfect go-to-treat all summer long!

There is nothing better than lounging on a hot summer day with a popsicle in hand. Even though I love all those fancy pants popsicles but sometimes you just want to make something classic and fuss free. These strawberry popsicles are exactly that! They are pretty simple and straight forward: fresh strawberries, lemon juice, salt and sweetener of your choice.

It’s a perfect healthy treat for adults and kids. They are dairy free, gluten free and eggless. They are literally on repeat every summer at my house. 

Let’s dig in!

Recipe: makes 8 popsicles

Ingredients

  • Strawberries: 500 grams
  • Unprocessed Cane Sugar: 4 tbsps
  • Chia seeds: 2 tbsps (optional)
  • Salt: a pinch
  • Lemon juice: 1 tbsp
  • Strawberry Jam: 2 tbsps (optional, but highly recommended)

Instructions

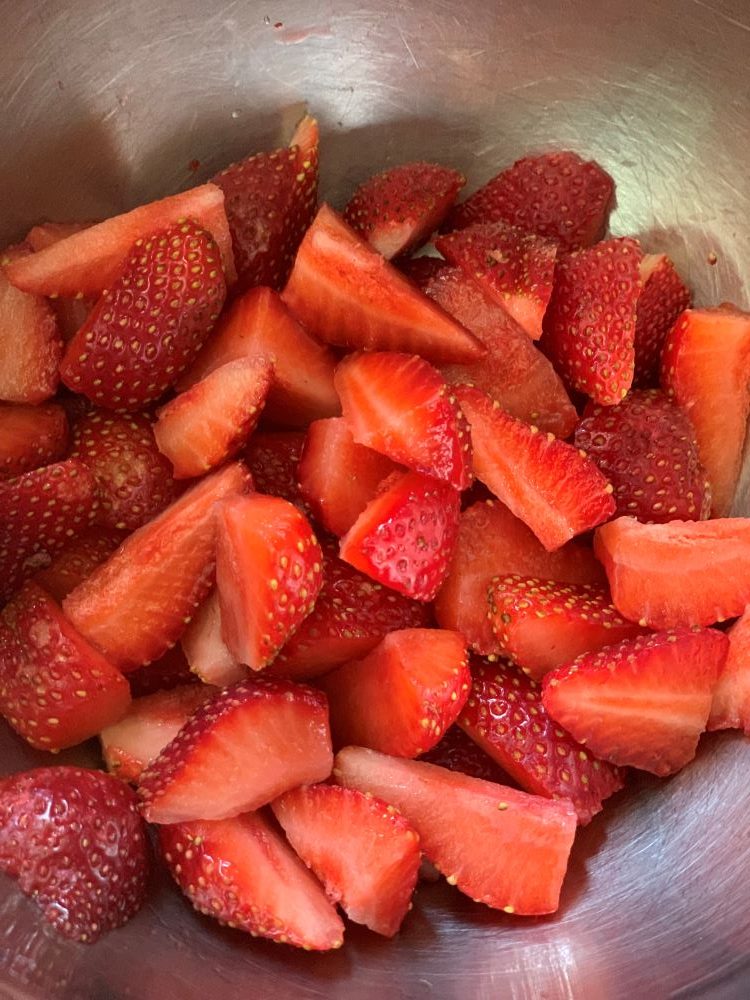
  • Wash and quarter the strawberries.
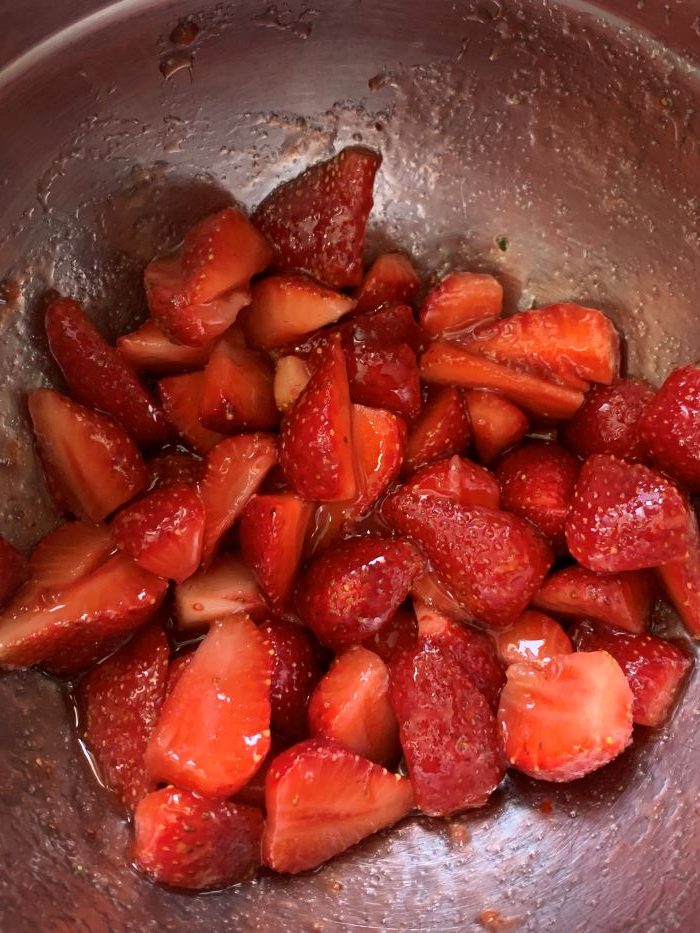
  • In a large bowl, add all the ingredients mentioned above except chia seeds.
  • Mix well and let it sit for 10-15 minutes. When sugar comes in contact with strawberry, lemon juice and salt, it will melt and release its natural juice making strawberries juicer, sweeter and more intense.
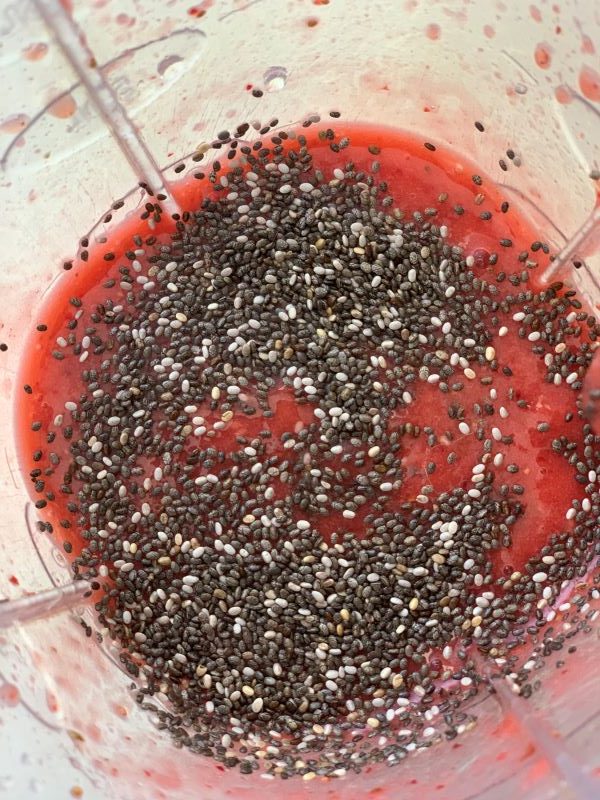
  • Now add everything in the bowl to a blender and  blend everything to a smooth purée. 
  • After blending, add chia seeds and mix well. 
  • Pour in popsicle molds and freeze overnight or for 6-8 hours. Leave a little space on top of the popsicle molds because when freezing they will expand slightly. 
  • For unmolding, run tap water over the popsicle mold for few seconds. Unmold carefully.

Variation

If you’re not in the mood for strawberries but still want a sweet summertime treat, this recipe also works great with other fruits as well. You can go for summer fruits like watermelon, mango, pineapple, peaches or most other fruits make for a great popsicle filling.

Sweetener

If you don’t want to add sugar or unprocessed sugar, you can use other sweeteners like, maple syrup, honey, jaggery powder or syrup. I have tried this recipe with maple syrup and it was a huge hit too.
If you are not adding strawberry jam then you might have to increase the amount of sugar. However, you can try this easy to make Strawberry Apple Preserve if you don’t want to add any store bought jam.

Happy Summers! 🙂

Posted on Leave a comment

Homemade Traditional Coconut Ladoos- Make the juiciest ladoos with this recipe

In Indian tradition, Coconut ladoos or Nariyal ladoos are offered to God or deities during Hindu festivals. Eating homemade sweets that are traditionally prepared, especially during festivals, is a way to bring families together. Sweets prepared at home in the traditional way are wholesome and nourishing that are not going to affect your health or weight.

Unlike commercial sweets, homemade sweets give you a complete control over what you are going to add. Celebrity nutritionist Rujuta Diwekar is of the belief that, if you go completely off sugar, then it can increase cravings and make you switch to artificial sweeteners-which come with their share of side effects and health risks.

Thus you can have homemade sweets prepared with natural and quality ingredients, used in right quantity. Portion control and moderation is the key to everything.

Coconut ladoos are traditional sweet balls made primarily with coconut and a sweetener like sugar and jaggery. They are flavoured with cardamom. Some prefer adding nuts like cashews and almonds to it as well. These are traditionally made with milk, ghee and fresh coconut. However, there are other variations that use condensed milk or milk powder to reduce the cooking time and fresh coconut is replaced with store-bought desiccated coconut.  

In this recipe, we will be making traditional coconut ladoos with fresh coconut, unprocessed sugar, milk and ghee.

They come out absolutely delicious, juicy and soft and they are so easy to make. These ladoos taste best with freshly prepared desiccated coconut at home instead of store-bought desiccated coconut. Preparing desiccated coconut at home is super easy and will hardly take you 10 minutes to prepare it.

Recipe

Prep time: 15 minutes Cook time: 30 minutes 
Serving: 10 ladoos

Ingredients: cup measurements 250 ml

  1. Homemade Desiccated Coconut: 2 cups + 2 tbsps (refer below)
  2. Full cream milk: 1 1/4th cup
  3. Sugar: 1/2 cup
  4. Cardamom powder: 1/4th tsp
  5. Nuts (optional, I didn’t add any)
  6. Kesar strands for garnishing
  7. Ghee: 2 tbsps

Method

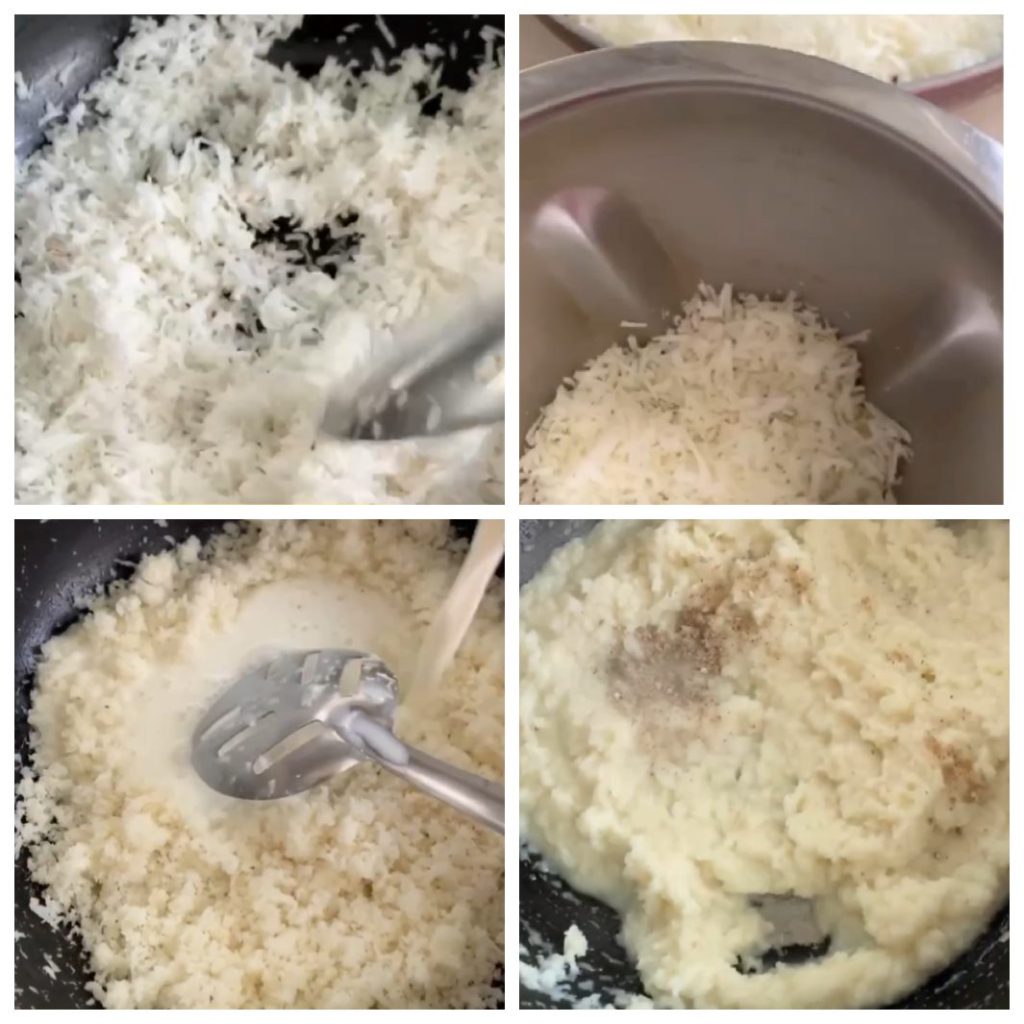
  • Heat a heavy bottom wok. Put ghee and coconut in it and roast for a minute. Keep stirring continuously on lowest flame. 
  • Now add milk and sugar. Mix well. The mixture at this point will be watery. Keep stirring and cook on lowest flame till milk completely evaporates. It’ll take roughly 25 minutes. 
  • Once the mixture thickens and gets a crumbly texture, add cardamom powder and chopped nuts if using. Mix well. 
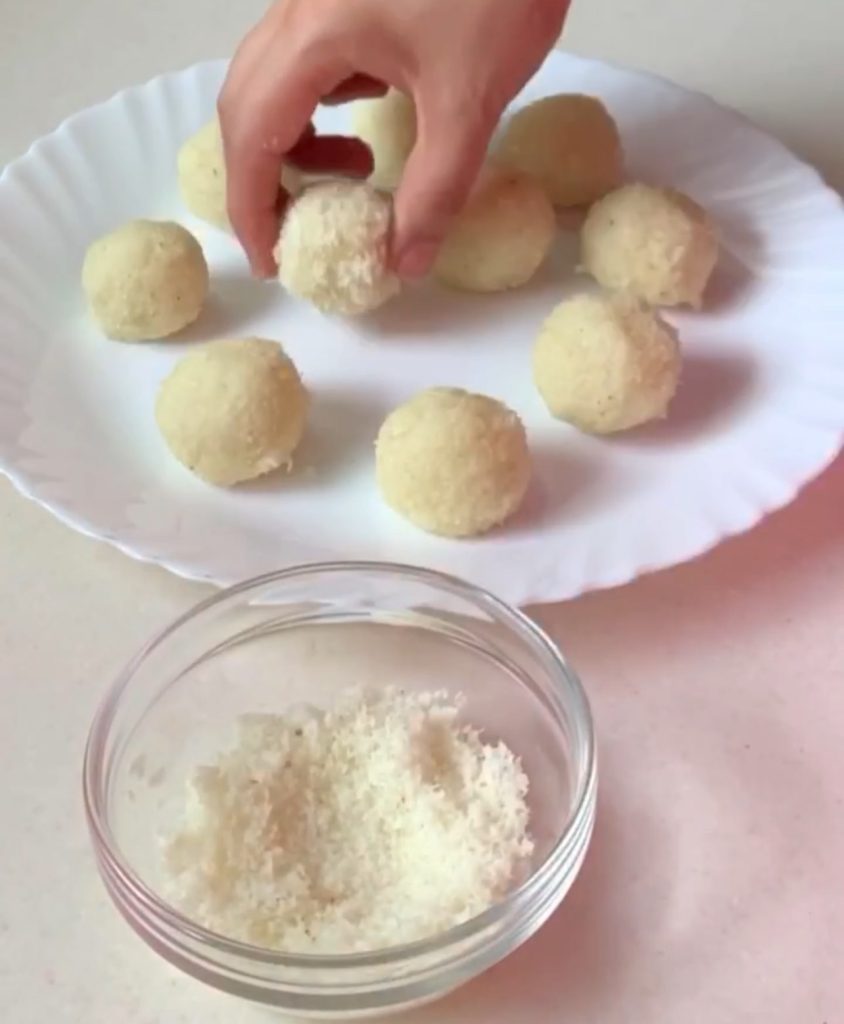
  • Allow it to cool for couple of minutes. Now shape them into small balls. 
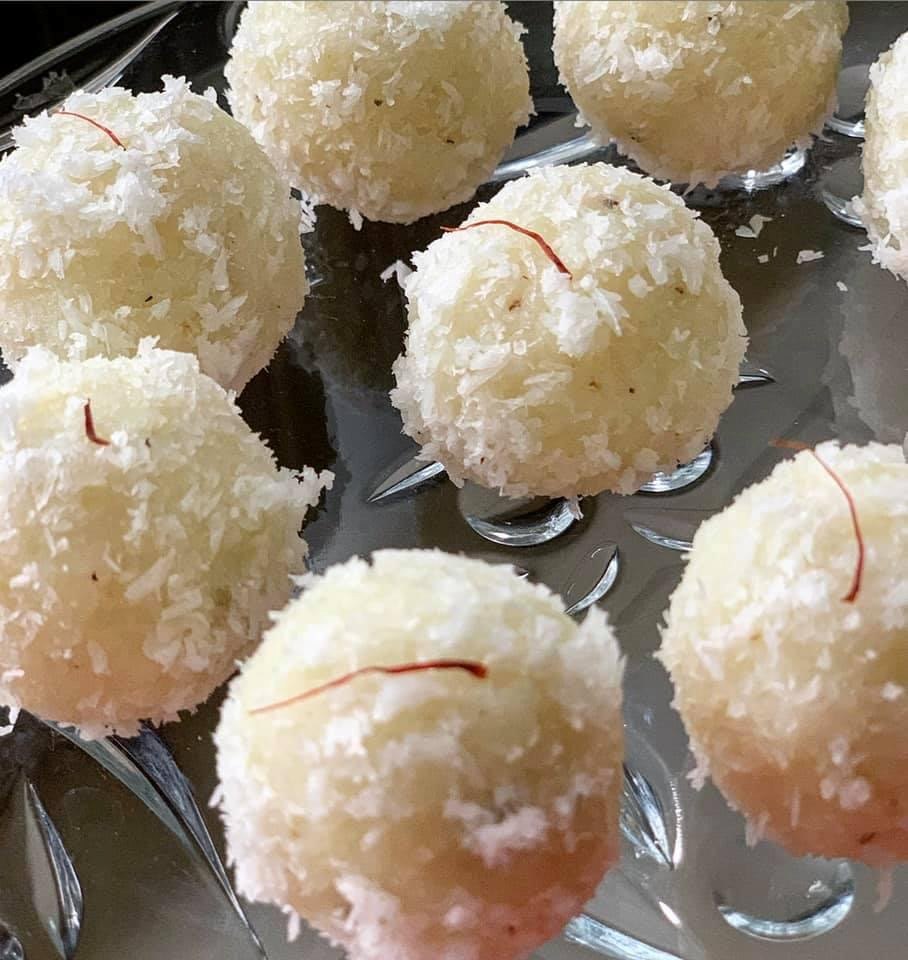
  • Put remaining desiccated coconut on a plate. Roll the laddoo over it till it coats well. 
  • Garnish it with kesar strands. 
  • Refrigerate it for atleast an hour or overnight to set.

How to make desiccated coconut at home with fresh coconut

  1. Peel the brown husk from the coconut. Either grate or finely chop it and shred it in a blender. Heat a heavy bottom wok. Put the grated/shredded coconut in it and roast on lowest flame, stirring continuously till moisture from coconut evaporates. It’ll take you anywhere between 7 to 10 minutes. 
  2. It’s done when you will feel that it has really gone light while stirring and separates easily from each other.

Notes:

  1. Sweetener: You can use a sweetener of your choice. If you can’t find raw unprocessed sugar, you can make this with jaggery as well.
  2. Flavour: Traditionally cardamom powder is used to flavour coconut ladoos. However, if you don’t want to add it, you can skip it as well. In winter, you can flavour it be adding dry ginger powder or nutmeg.
  3. Choosing Coconut: Though this recipe tastes best with fresh desiccated coconut but if you can’t find fresh coconut, you can use store-bought desiccated coconut. Make sure the desiccated coconut is raw and not steamed or frozen.
  4. Vegan Version: For vegan version skip, ghee and milk and instead add coconut oil and coconut milk to this recipe.