Posted on Leave a comment

Green Peas, Corn and Mint Parantha for Toddlers

This recipe came into being when my then 4 year old suddenly one day decided that he hates green peas. Toddlers and their tantrums! But seeing the nutritional profile of peas, I wanted to make him feed peas in some form. I know, all mothers have gone down that lane atleast once where we are finding ways to hide such nutritious vegetables into our child’s meal.

I finally found this perfect way to make him have peas. He absolutely loves this parantha. But now that he is 10, the difference is that he now knows that this is Peas Parantha and sometimes requests for it too. He still hates peas in its whole form though. 🙂

This Parantha tastes extremely good and is perfect for toddlers. Your little one will enjoy the mild soothing flavour derived from apt spices and easily chewable texture. The natural sweetness from peas and corn is very well balanced with mint and spices. 

Peas I think are quite under-rated. It is not actually a vegetable but a small, edible legume and belong to the same family. They are rich in fibre and one of the best plant sources of protein. Always remember when it comes to nutrients, quality over quantity will always win. They are also a useful vegan source of iron. Just 80 grams of green peas can give almost 6 grams of superb quality protein and 1.2 mg of iron.

The combination of sweet corn kernels with peas is quite different and delectable. Sweet corn gives its own creaminess and milky sweet taste to this parantha and mint leaves not only adds that much needed freshness but also is an absolute MUST in summers to keep the digestive system cool.

Let’s see how we can make these parantha for our little picky eaters 🙂
Recipe: makes 3 Paranthas

Ingredients: 

  1. Green Peas: 1/2 cup, boiled or steamed
  2. Sweet Corn Kernels: 1/4th cup, boiled or steamed
  3. Whole wheat flour: 1 cup
  4. Mint leaves: 1/4th cup
  5. Ginger: 1/2 inch
  6. Roasted Cumin Powder: 1/4th tsp
  7. Black pepper: as per taste
  8. Salt: as per taste
  9. Coriander Powder: 1/4th tsp
  10. Garam Masala: a pinch (optional)
  11. Caraway seeds/Ajwain: a generous pinch
  12. Ghee for cooking and dough

Instructions:

  • In a large plate or bowl take wholewheat flour. Add salt, blackpepper, roasted cumin powder, coriander powder, garam masala, ajwain and 1 tbsp desi ghee. 
  • In a blender, add boiled/steamed peas, corn, mint leaves and ginger. Blend to a smooth purée. Use a little water to get a smooth purée.
  • Add the purée to the flour and knead the flour using the purée. Make a soft dough. 
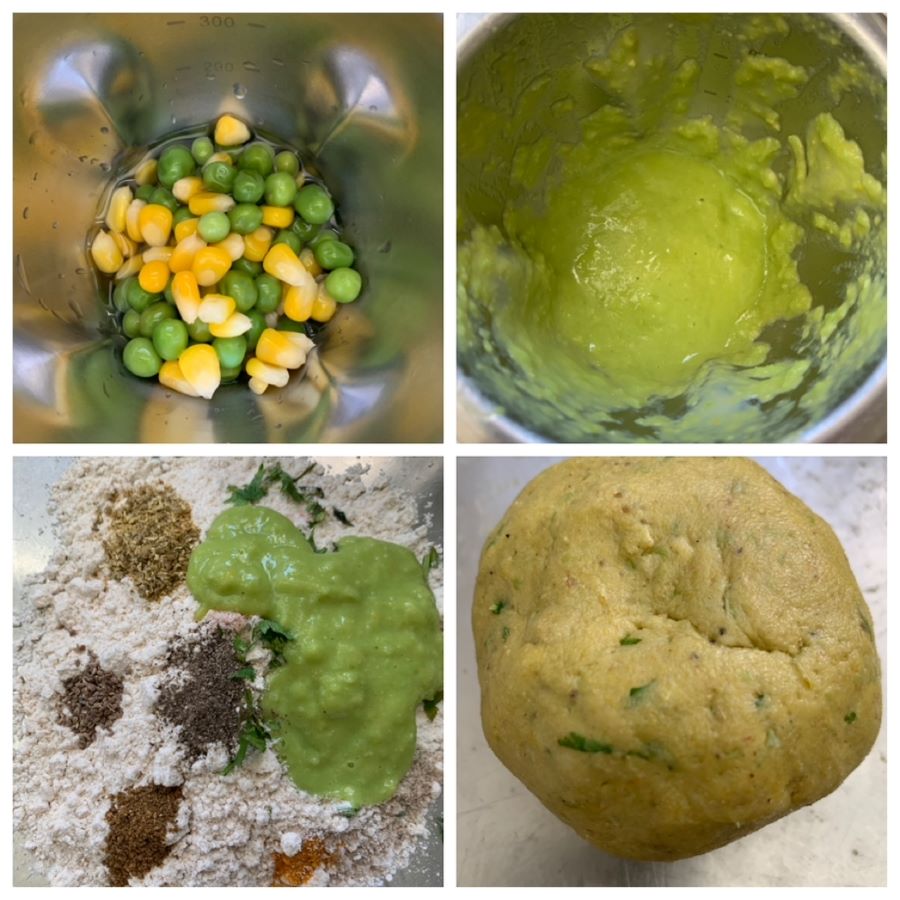
  • Cover the dough and let the dough rest for 10 mins. Then make small balls and roll it with a rolling pin to the shape and size you want. 
  • Heat a tawa and place rolled parantha over it. Drizzle oil or ghee after it gets half cooked and cook both sides using ghee till golden brown. 
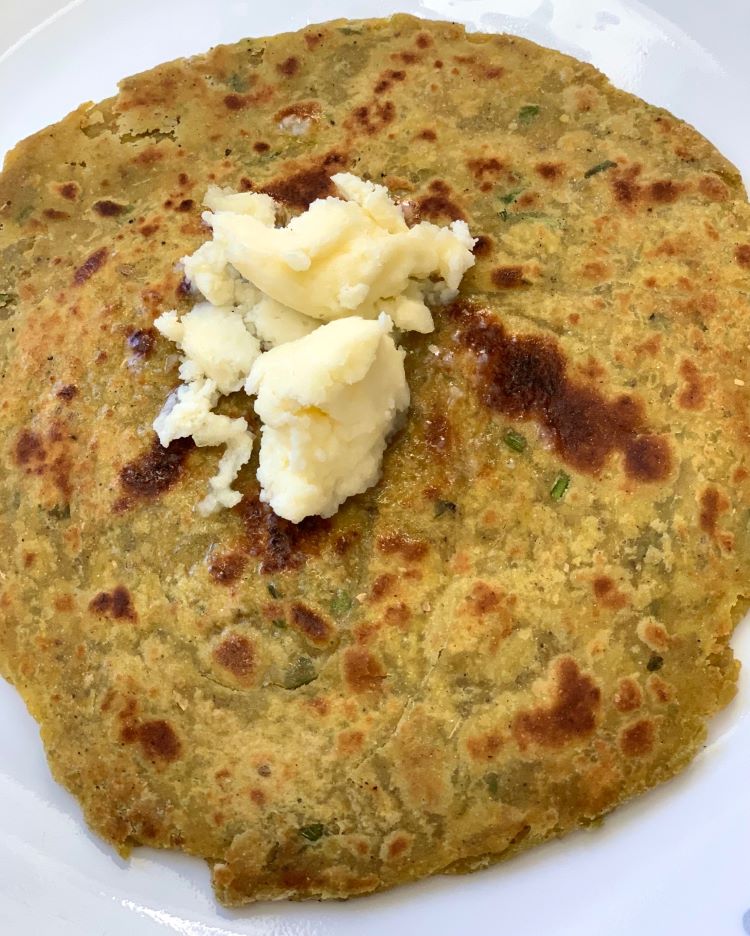
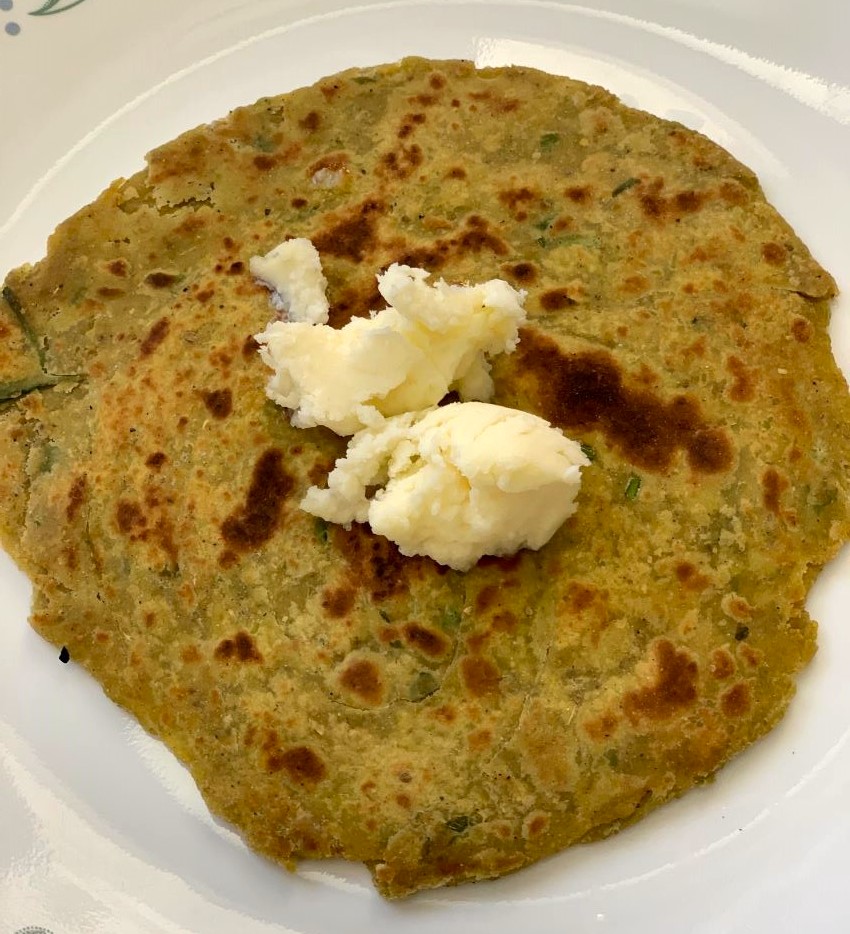
  • Serve with dollop of homemade butter and loads of love.  ❤️

Always serve homemade butter to your child and never store-bought one. Know why you should not give store-bought butter to your child and how to make homemade butter here- Is Homemade Butter really Worth the Effort?

Notes: 

  1. If you are boiling peas and corn then do that in minimal water and use the water to make the purée. Do not let the nutrients get washed away down the drain.
  2. Do not cook parantha on low flame for a long time. It will make harder or crisp paratha which kids don’t like.
  3. You can use frozen peas for this recipe but remember fresh will always taste better. 
  4. Do not skip adding caraway seeds or ajwain in your child’s parantha. They are excellent for digestion.

Do try out this recipe for your child. I am absolutely sure your child will enjoy it. More than your child I am sure you will enjoy watching your child gobbling down such healthy stuff. 🙂 Do let me know in the comments if you do. Would love to know how your child liked it. 

Happy Feeding! 

Posted on Leave a comment

Vegan Som Tam Salad Recipe | Raw Papaya Salad

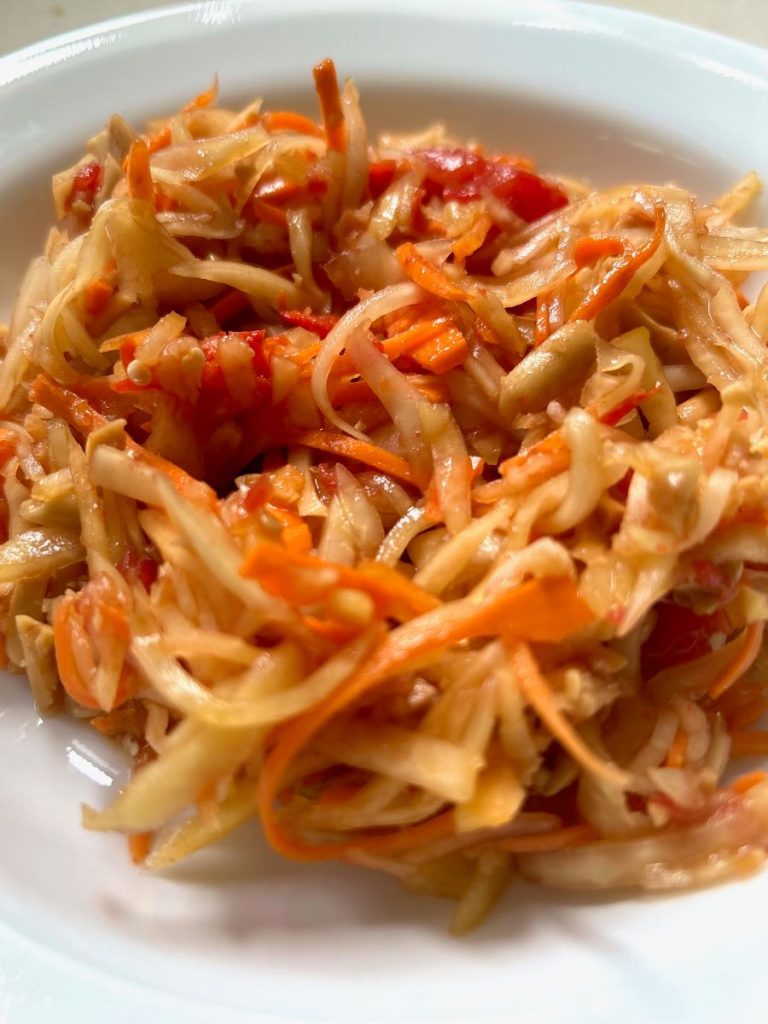
Som tum or Som Tam is Thai Papaya Salad made from raw or green papaya. If you have been to Thailand, you must have tried som tum salad atleast once. It is a popular, fun and spicy salad often served as a side dish. You’ll find it everywhere in Thailand from the streets to high end restaurants. While papaya salad is a signature dish in Cambodia, Laos, and Vietnam, it’s the Thai version that is the most famous.

When I went to Thailand 2 years back, I was there for 8 days. I went in the month of June, so weather was a little humid and my craving for something bright, refreshing and light was at its peak. Everyday and I literally mean all those 8 days I had this salad. It is everything you want from a salad. It teases your taste buds with tantalising combination of crunchy, sweet, spicy, tangy and salty flavours. Thai cuisine is anyway so delightful. I love all the complex flavour profile of Thai food. It’s sweet, sour, salty and spicy flavors, creating a symphony of taste in every dish. The combination of these flavors is what makes Thai food so addictive and mouth-watering. It is one of my favourite cuisines in the world. Every dish is packed with some fabulous kick ass flavours. 

Needless to say, as the summer approaches, this delectable papaya salad hits all the right notes for my cravings. I am a vegetarian but papaya salad in Thai cuisine is not vegetarian or vegan. It is usually made with baby shrimps and fish sauce. However, this vegan papaya salad recipe is packed with plenty of flavour and replaces fish sauce with soy sauce.

I also love how this simple recipe is also so healthy that I can eat as much as I want without a bit of guilt. 

  • Raw papaya is a fabulous source of Vitamin C, vitamin A, folate, potassium, and magnesium.
  • It also contains an enzyme called papain, which aids in digestion and can help relieve symptoms of indigestion, constipation, and bloating.
  • It is low in calories, high in dietary fibre, and contains enzymes that increases metabolic function.
  • Raw papaya has also been known to help reduce menstrual cramps and provide relief from the discomfort associated with menstruation.

Without further delay, let’s see how we can make this bowl of goodness.

Recipe: serves 2

Ingredients:

  1. Shredded Raw or Green Papaya: 2 cups
  2. Shredded Carrot: 1 large
  3. Garlic: 1 large clove or 2 medium size
  4. Thai Red Chilli or Bird eye chilli: 1 (can add less or more as required)
  5. Palm sugar: 1 tbsp
  6. Tomato: 1 small size or 3-4 cherry tomatoes 
  7. Long Beans: 2-3 (optional; I didn’t add any)
  8. Lemon or Lime juice: 2 tbsps
  9. Roasted Peanuts: 2 tbsps
  10. Naturally Brewed Soy Sauce: 2 tbsps
  11. Rice or White Vinegar: 1 tbsp
  12. Sea Salt: as per taste

Instructions

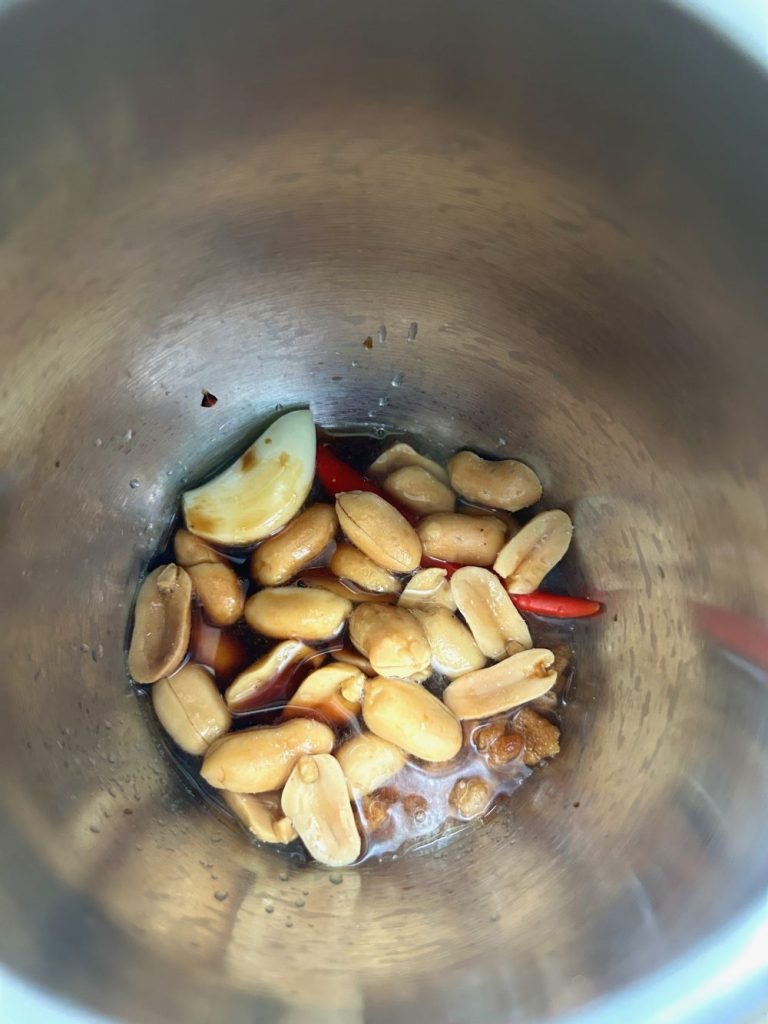
  • In a large mortar pestle add garlic, red chilli, lemon or lime juice, soy sauce and vinegar and peanuts. With the help of the pestle bruise the ingredients. 
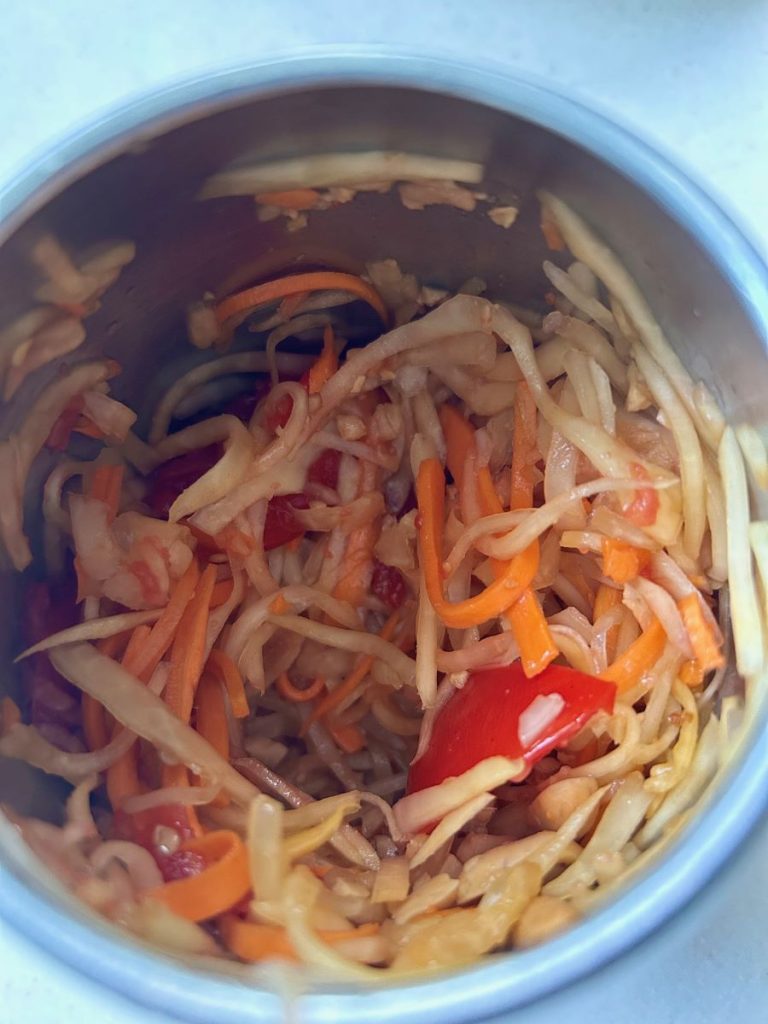
  • Now add shredded papaya, carrots and sugar. Use a spoon and the pestle to mix and bruise the salad. Then add tomatoes and bruise again. 
  • Season to taste with more soy sauce, salt or lime juice if needed.
  • Alternatively, you can also make this salad using a large zip lock bag and use a rolling pin to bruise the ingredients. 
  • Serve Som tam as it is or have it with sticky rice. It also pairs well with Thai curries, grilled meats or can be enjoyed as a full meal with added protein.

Storage: 

This salad can be stored in the refrigerator for upto 2 days. But remember green papaya will soften the longer it sits.

If you are looking for more such healthy Thai recipes, do try out this Thai style Vegan Bowl with Peanut Butter Dressing. If you make this salad recipe, do let me know. I would love to hear your feedback and thoughts. Stay happy and healthy! See you soon with next recipe. 🙂

Posted on Leave a comment

Easy Crispy Okra (Bhindi) Raita: Crunchy and Cool

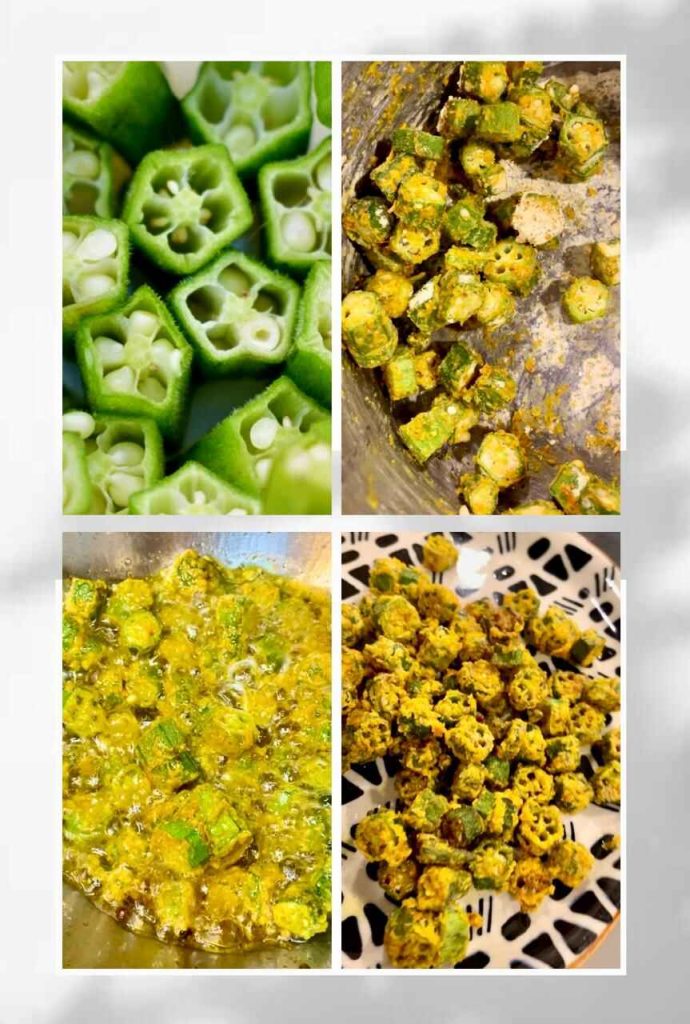
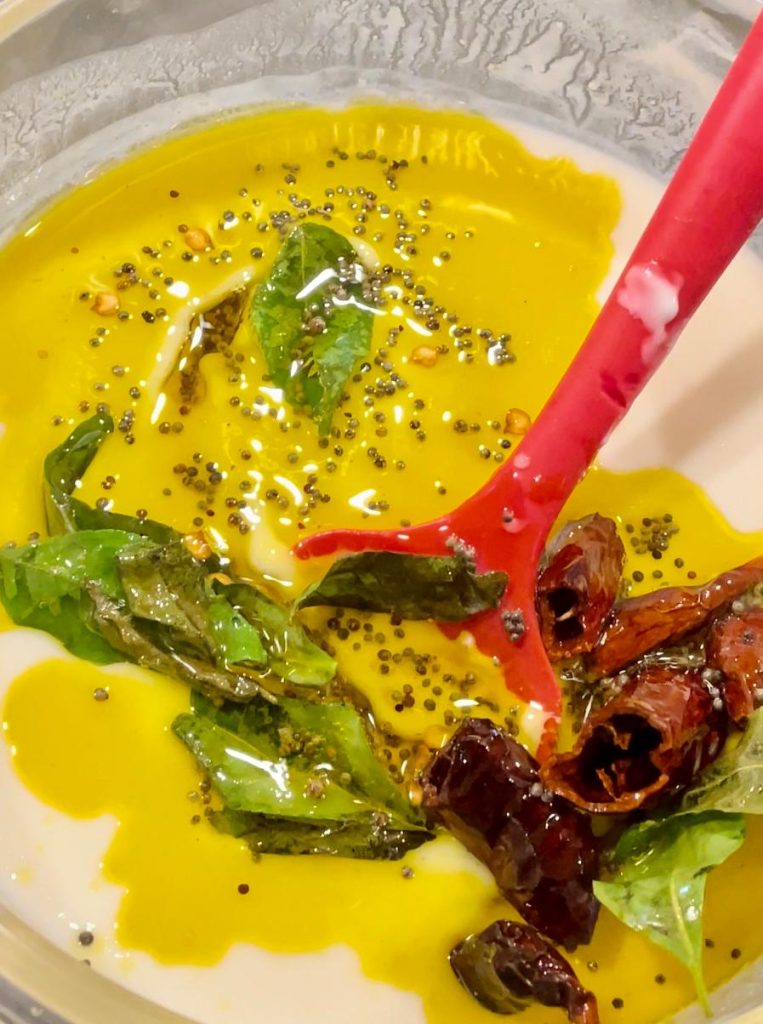
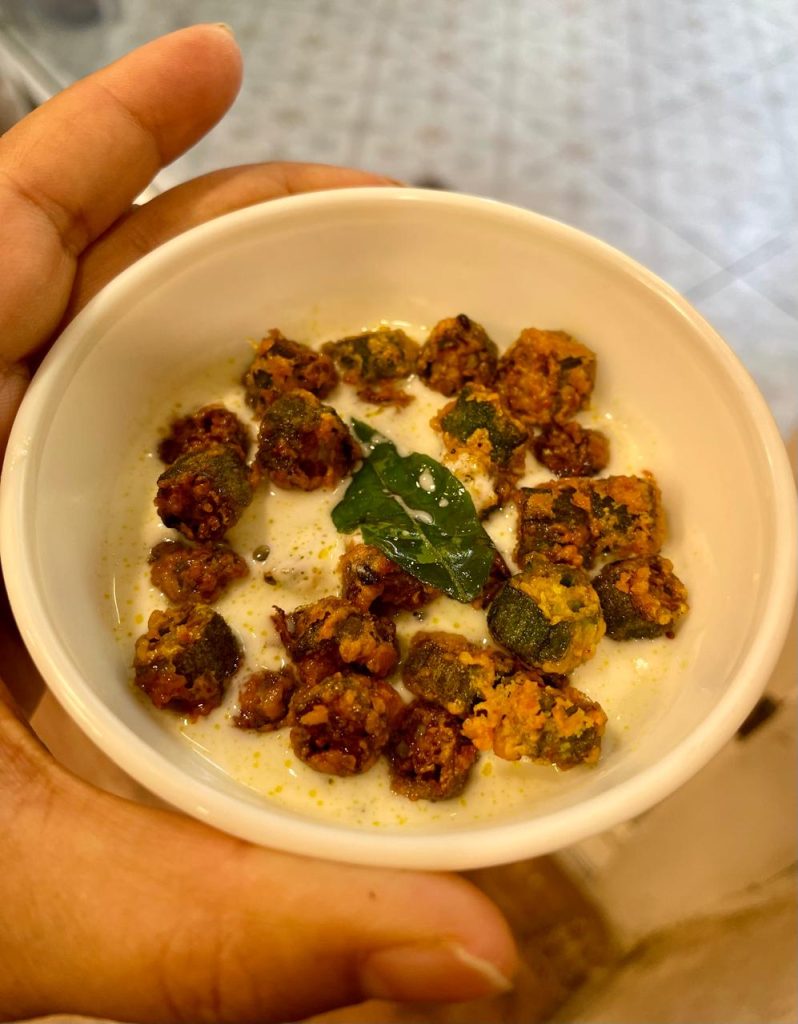
Just like any other raita this crispy bhindi raita is also easy to make. It’s a perfect side dish for your summer meal . This raita can make any boring meal exciting as a side dish. Eat this raita with any pulao or with simple dal chawal. The crispness of coated bhindi and creamy tanginess of curd makes excellent combination. The best part is that this bhindi raita remains crispy and never turns slimy.

Ingredients:

For Okra Coating:

250g Okra (Bhindi), washed, dried, and sliced

1 cup Besan (gram flour)

1/2 tsp Turmeric powder

1/2 tsp Red chilli powder

Salt to taste

For Tempering:

5-8 Curry leaves

1 tsp Rai

1 whole Red chillies

For Raita:

2 cups Curd (yogurt), beaten

Black salt to taste

Instruction:

In a bowl, mix besan, turmeric powder, red chilli powder and salt. Coat the sliced okra with the mixture. deep fry coated okra until crisped.

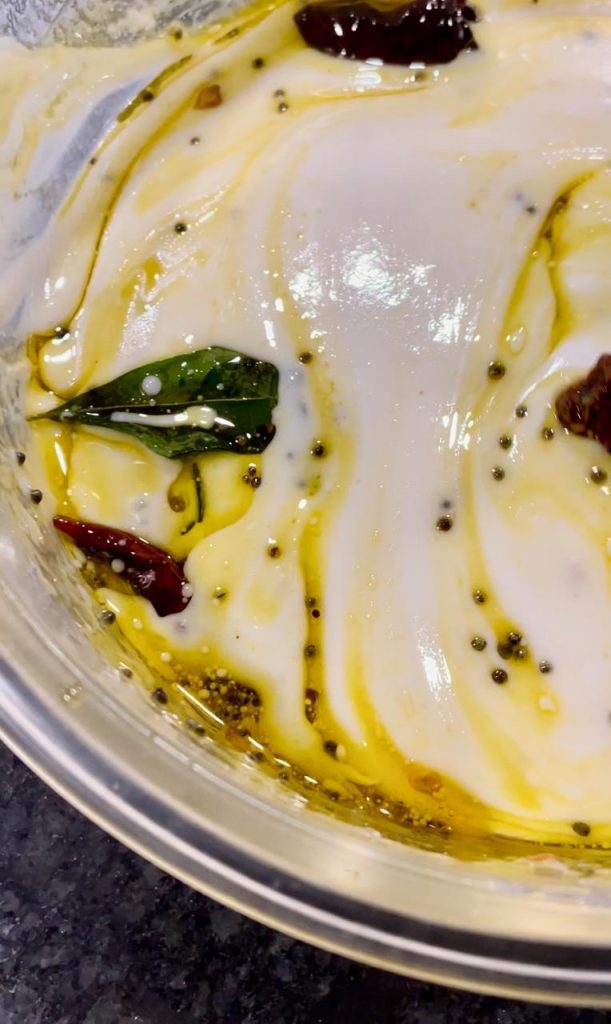
In a large bowl, beat the curd until smooth. Add black salt to taste and mix well. In a small pan, heat a little oil. Add curry leaves, rai, and whole red chilli. Let them crackle for a few seconds until aromatic.

Add the tempering to the beaten curd and mix well. You can keep this mixture in fridge to chill. Raita taste better when it’s chilled.

Serve the Okra Bhindi Raita chilled, garnished with a few extra curry leaves if desired.

Tips:

  • Make sure the okra is completely dry before coating to avoid it becoming slimy.
  • Add the fried okra to the raita just before serving to retain its crispiness.
  • Adjust the spices according to your taste preference.

This Okra Bhindi Raita is a delicious and unique addition to any meal. The crispy okra adds a wonderful texture to the creamy raita, making it an irresistible side dish. Give this recipe a try and let us know how you like it! And don’t forget to check out our other recipes and share your feedback. Happy Cooking!

Posted on Leave a comment

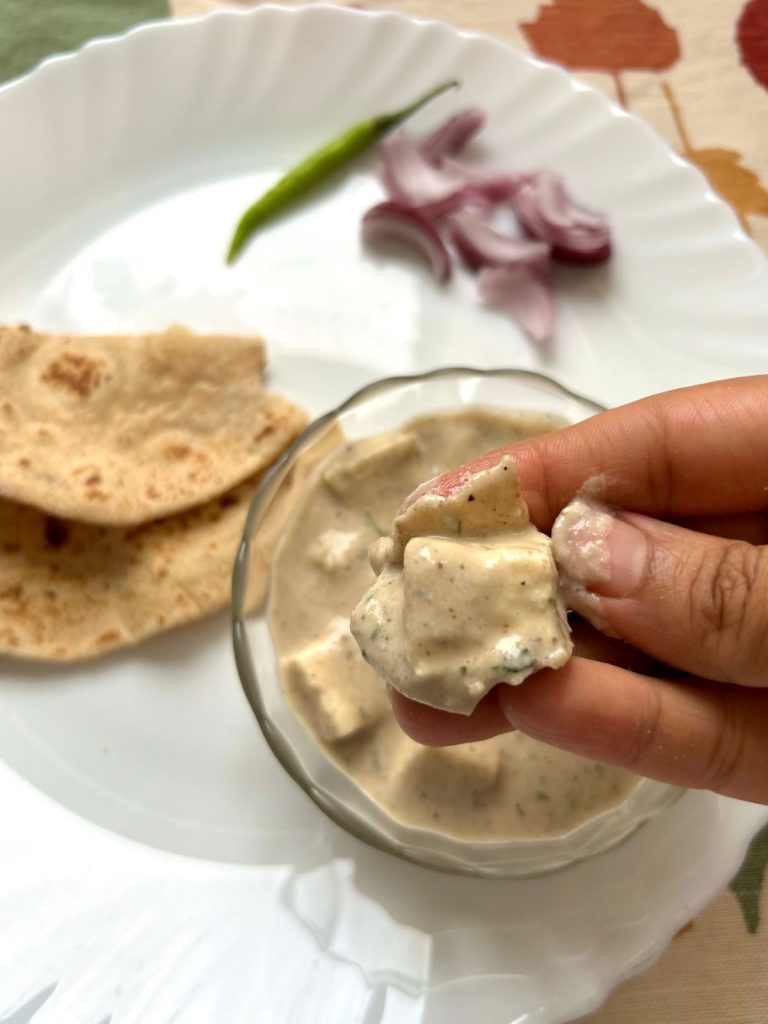
Kali Mirch Paneer | Black Pepper Paneer- Kid Friendly Recipe

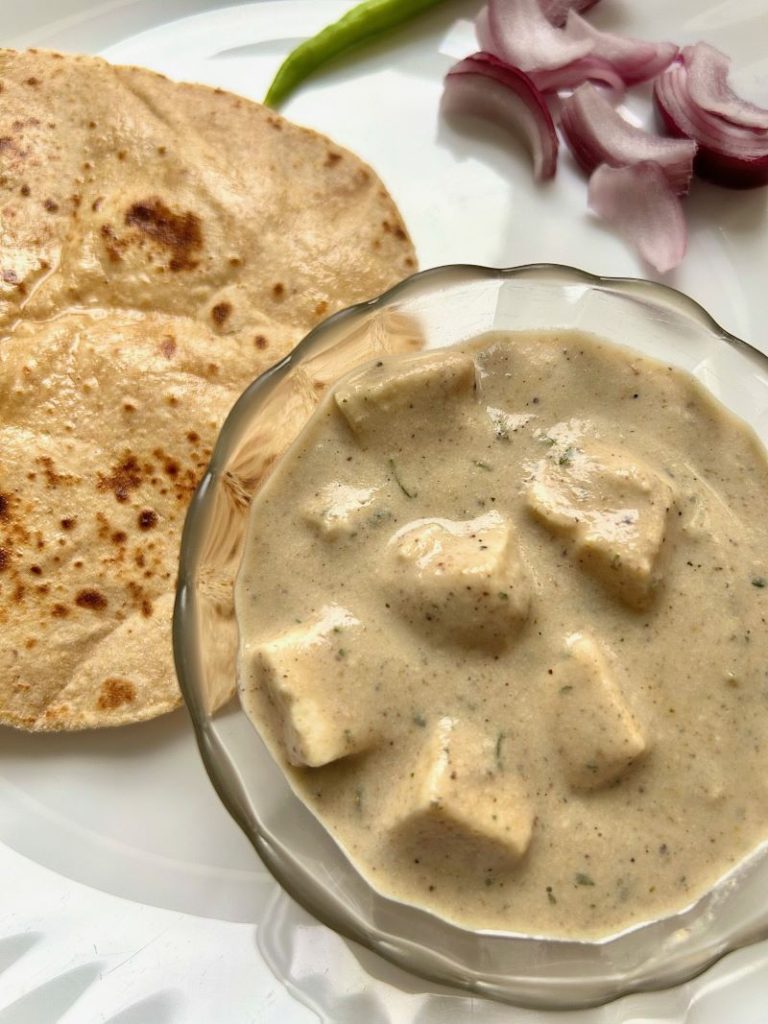
Paneer Kali Mirch is an onion based white gravy. The concept of combining the mild flavor of paneer with the strong flavour of black pepper emerged as Indian cookery developed, and regional cuisines grew in popularity. The flavours of this dish are mild yet there is subtle heat from the pepper. It has a rich silky-smooth gravy. As the name white gravy suggests, we instantly associate white gravy with too much cream but surprisingly this kali mirch gravy does not contain any cream at all. The gravy is made using cashews and milk which makes it light and easy on your stomach. It is perfect for those days when strong paneer cravings strike but you don’t want to indulge in those heavily cream based gravies. It can turn your boring lunch or dinner to something special, something that will bring a sense of satisfaction and smile to your face. I promise that! 🙂

I had my first kali mirch paneer dish from a famous restaurant in Ludhiana, a city in Punjab. I loved it so much then that I badly wanted to crack the recipe. Lot of trials later, I kind of figured out the technique they use but I wish I can crack the recipe of their secret masala. Though, this recipe doesn’t give that exact taste but comes pretty close to the original and of course tastes delicious.

For people who eat chicken and want to make Kali Mirch Chicken, you can totally use this recipe. Just marinate chicken in ginger-garlic paste, salt and black pepper for 30 minutes to an hour before and cook it in the gravy.

Now let’s see how we can make this delicious paneer dish. Check out the step by step recipe below.

Recipe: serves 3

Ingredients: cup measurement 250 ml

  1. Paneer: 200 grams
  2. Black pepper: 1 tbsp (freshly ground)

For the Gravy

  1. Onion: 1 large or 2 medium, sliced
  2. Ginger: 1 inch
  3. Garlic: 7-8 cloves
  4. Green Chilli: 1
  5. Oil: 2 tbsps
  6. Ghee: 2 tbsps
  7. Milk: 1.5 cups
  8. Cashews: 8-9
  9. Water: 1/2 cup or as required 
  10. Kasuri Methi: 1 tsp
  11. Bay leaf: 1
  12. Salt to taste

For Kali Mirch Paneer Masala

  1. Cloves: 2
  2. Black Cardamom: 1
  3. Green Cardamom: 2
  4. Mace: 1
  5. Cumin seeds: 1/4th tsp
  6. Coriander seeds: 1.5 tbsp
  7. Cinnamon stick: 1/2 an inch

Instructions 

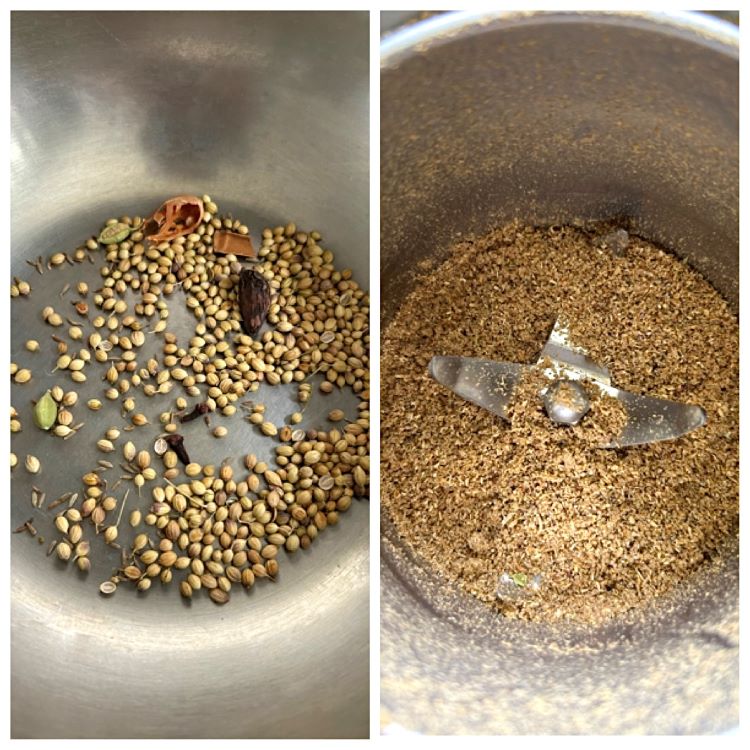
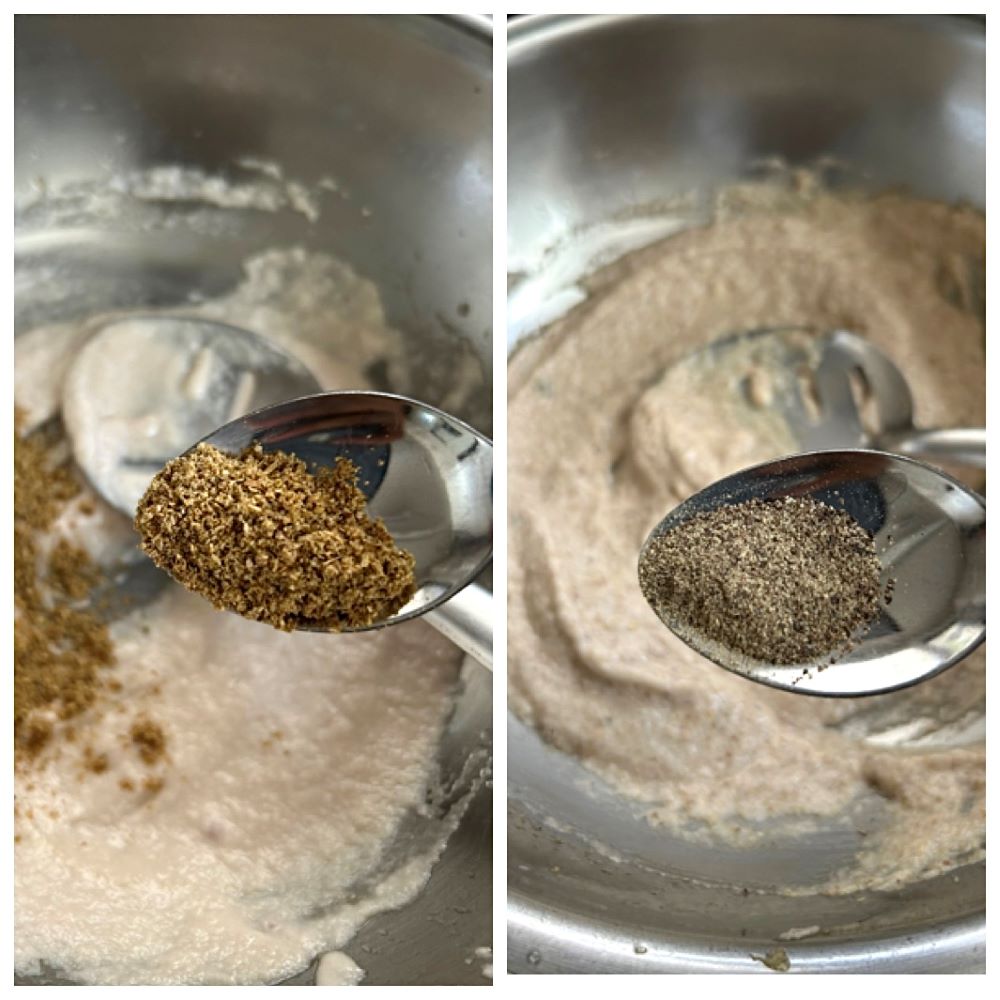
  • In a wok roast all the dry spices till they become fragrant and coriander seeds turn slightly brown. Then ground them in the mixer grinder or mortar pestle to a fine powder. Keep aside. 
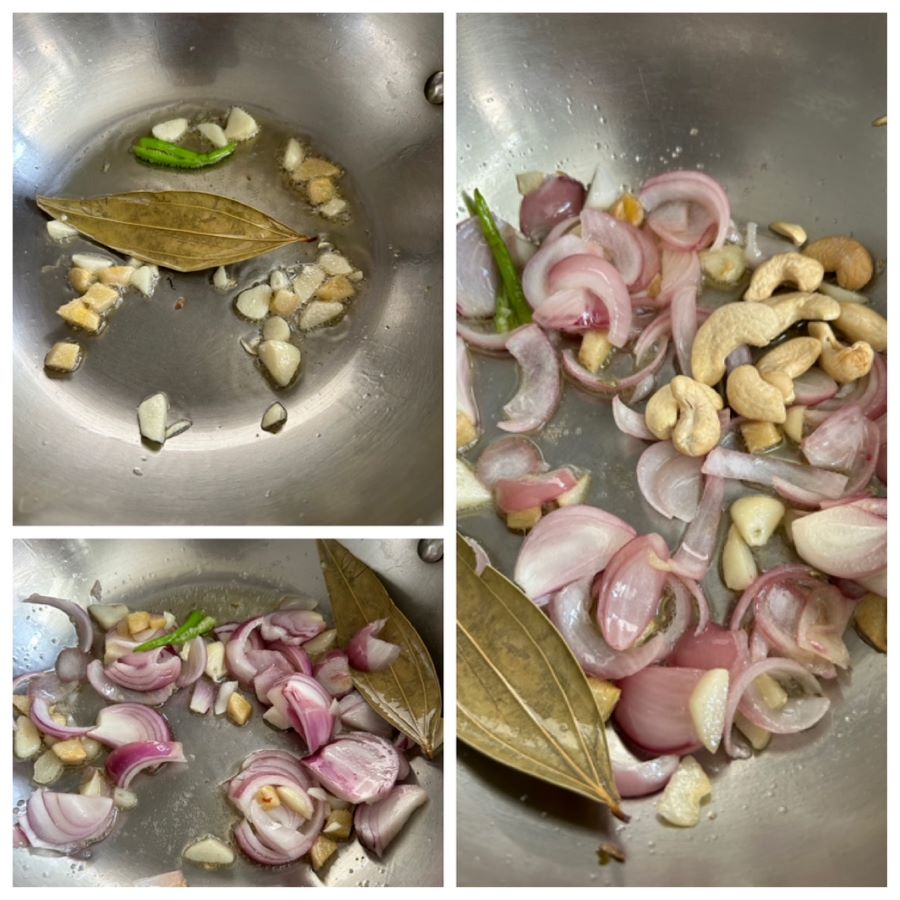
  • In the same wok heat oil and ghee. Add bay leaf, roughly chopped ginger and garlic. Slit the green chilli from the middle and then add it. Sauté till they the rawness goes. Do not brown it. 
  • Now, add sliced onions, some salt and cook till they become translucent. Add cashews and sauté till onions become soft. Do not brown the onions. We need white gravy. Browning onions will change the colour and flavour of the gravy.
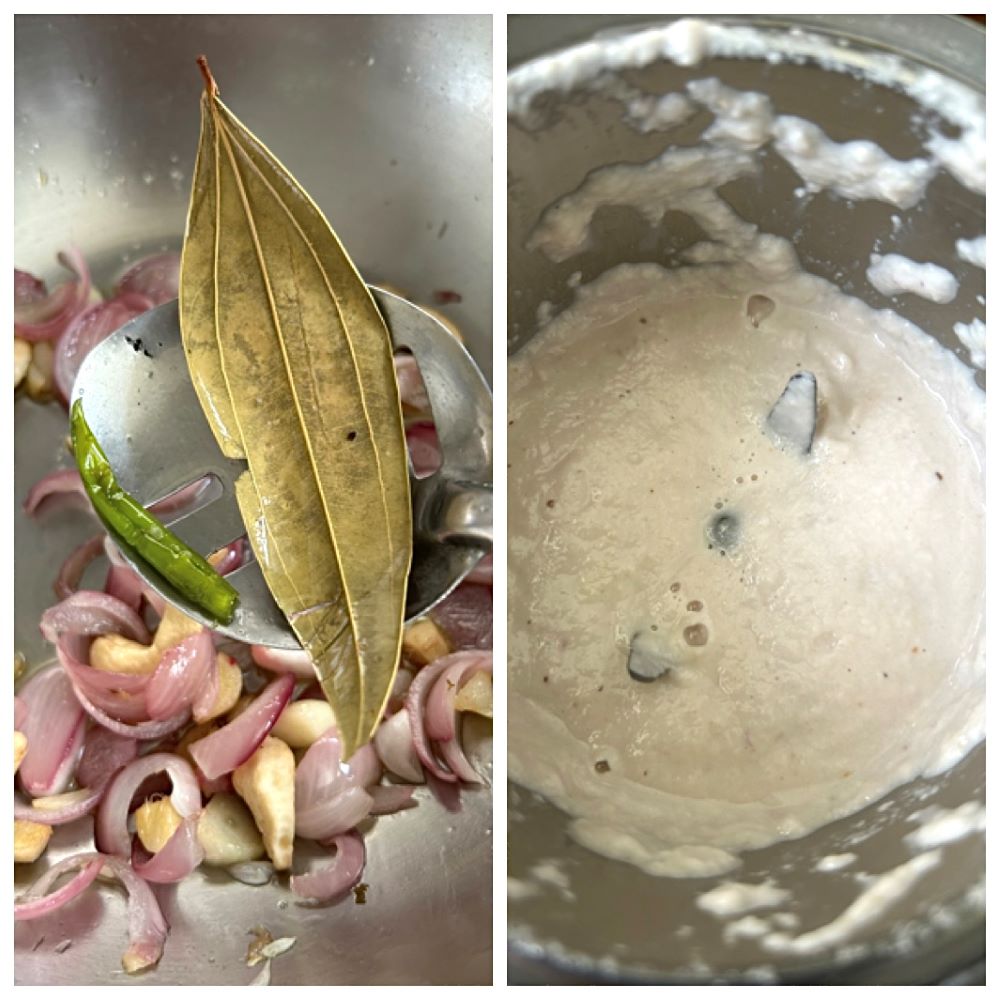
  • Once the onions become soft, switch off the flame. Remove green chilli and bay leaf. Allow onions to cool a little then transfer to a mixer jar. Add a little water and blend to a smooth paste. 
  • Transfer the paste back to the wok. Add 2 tbsps of prepared masala and 1/2 tsp of freshly ground black pepper. Mix well. Cook the onion paste for 4 to 5 minutes on low flame. 
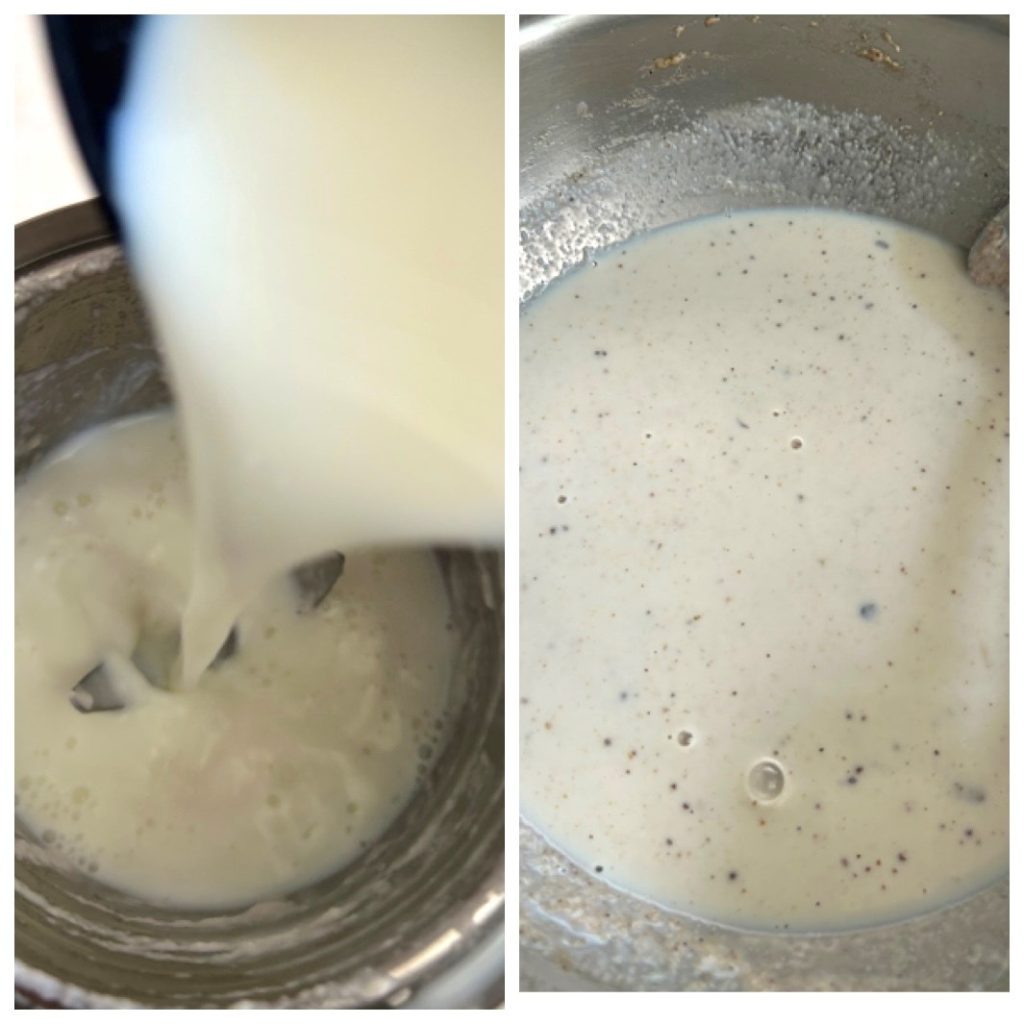
  • Now add 1.5 cups of milk in the wok. Swirl some milk in the mixer jar to take out all the onion paste. Bring the milk to simmer then immediately lower the flame. Do not boil the milk on high heat. Chances are that it will curdle. Keep stirring regularly for 5-6 minutes so that milk doesn’t curdle. This is the only tricky part. Rest is a cake walk.
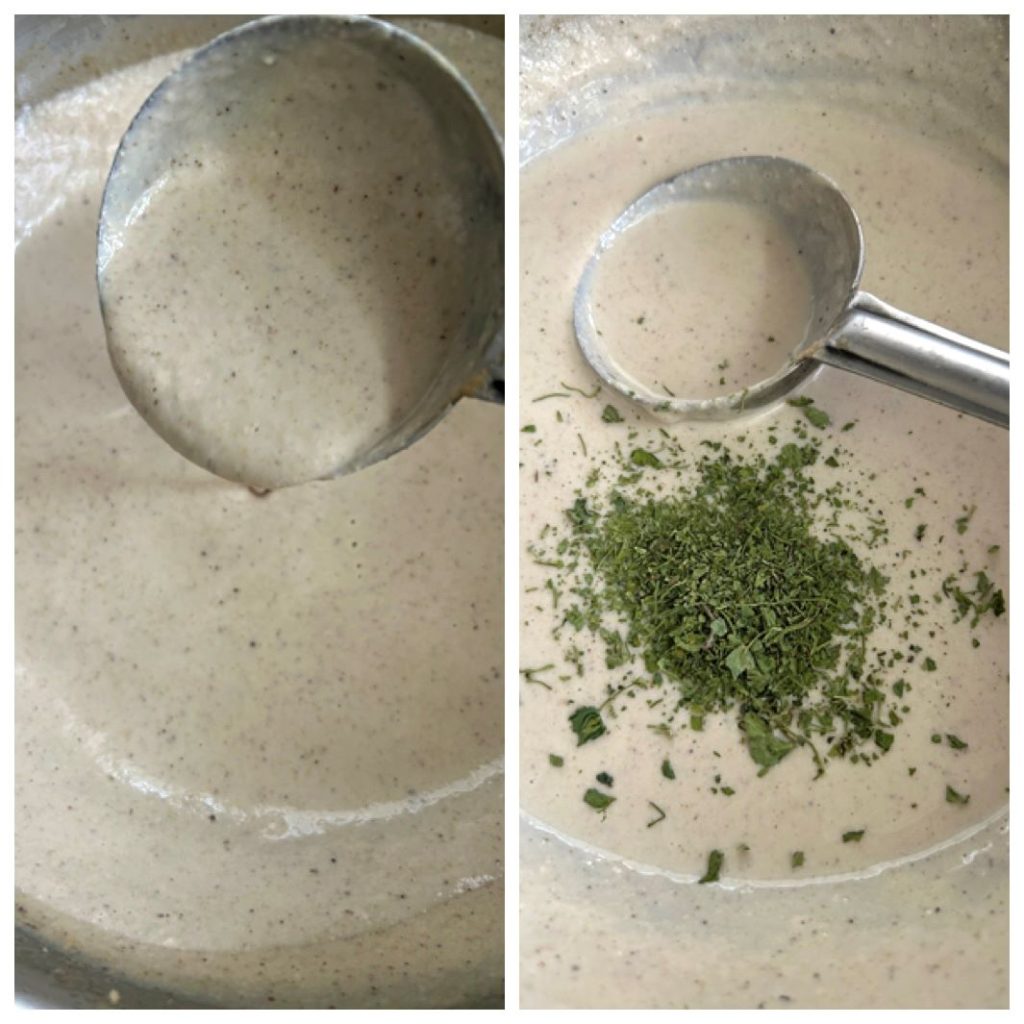
  • Once the gravy starts to thicken, add 1/2 cup of water, salt to taste and cook on low flame till the gravy thickens and coats the back of the spoon. 
  • Now crush kasuri methi between your hands and add it to the gravy along with remaining black pepper. Mix well. 
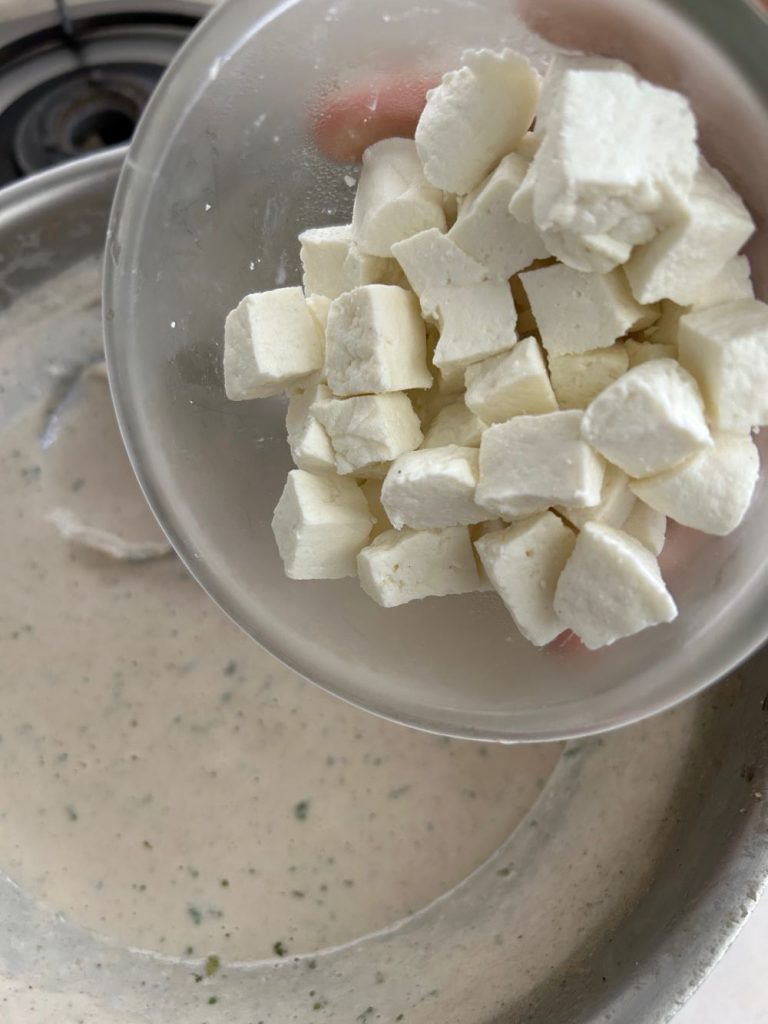
  • Add diced paneer cubes to the gravy and 1 tbsp of prepared masala. Cook on low flame for another 5 minutes. After 3 or 4 minutes, check for salt, add if required, cook for another minute and switch off the flame. 
  • Cover and let the gravy rest for 10 to 15 minutes before serving. Serve with hot rotis, naan or paranthas. 

Troubleshooting

  • The only trouble shooting in this recipe is curdling of the milk. If that happens, don’t get worried, I have got you covered. If the milk curdles while the gravy is thickening, then let the gravy thicken at first. Once it thickens, switch off the flame. Allow it to cool a little. Now before adding water, blend the curdled gravy in the blender and you will get a silky-smooth gravy. Transfer the gravy back to the wok, add water and cook like mentioned above.

Pro tips:

  1. For the best flavor and aroma, use peppercorns that are no more than a year old and grind them fresh using a pepper grinder or mortar pestle.
  2. The gravy can be made a day or two ahead and refrigerated. When ready to serve, add the paneer, cook for 5 minutes and serve. You can add some water to loosen up the gravy.
  3. If you want to make even more lighter gravy, you can skip cashews and just use milk.

Once you try this paneer kali mirch, I am sure it’ll become a regular part of your meal rotation. Do let me know in the comments how this recipe turned out for you. I would love to have your feedback. Stay Healthy! 🙂

Posted on Leave a comment

Lesua (Gum Berries) Rajasthani Gunda Kairi Ki Sabji

Irrespective of the scorching heat, summer comes with some amazing fruits and vegetables and one of them is lesua. Lesua is a unique berry known for its sticky seed inside. This seasonal vegetable is available only for a few months during the summer and favorite among who enjoy this vegetable. Lesua is often used in various traditional pickles and dishes. Rajasthani gunda kairi ki sabji is summer specialty of Rajasthan now widely used in north part of India too.

Ingredients:

Lesua (Gum berries)
Coriander powder
Garam masala powder
Red chili powder
Amchoor powder
Salt
Mustard oil
Cumin seeds (for tempering)

Instructions:

Begin by boiling the lesua in salted water until they are tender. Once cooked, drain the water and separate the seeds from the lesua.

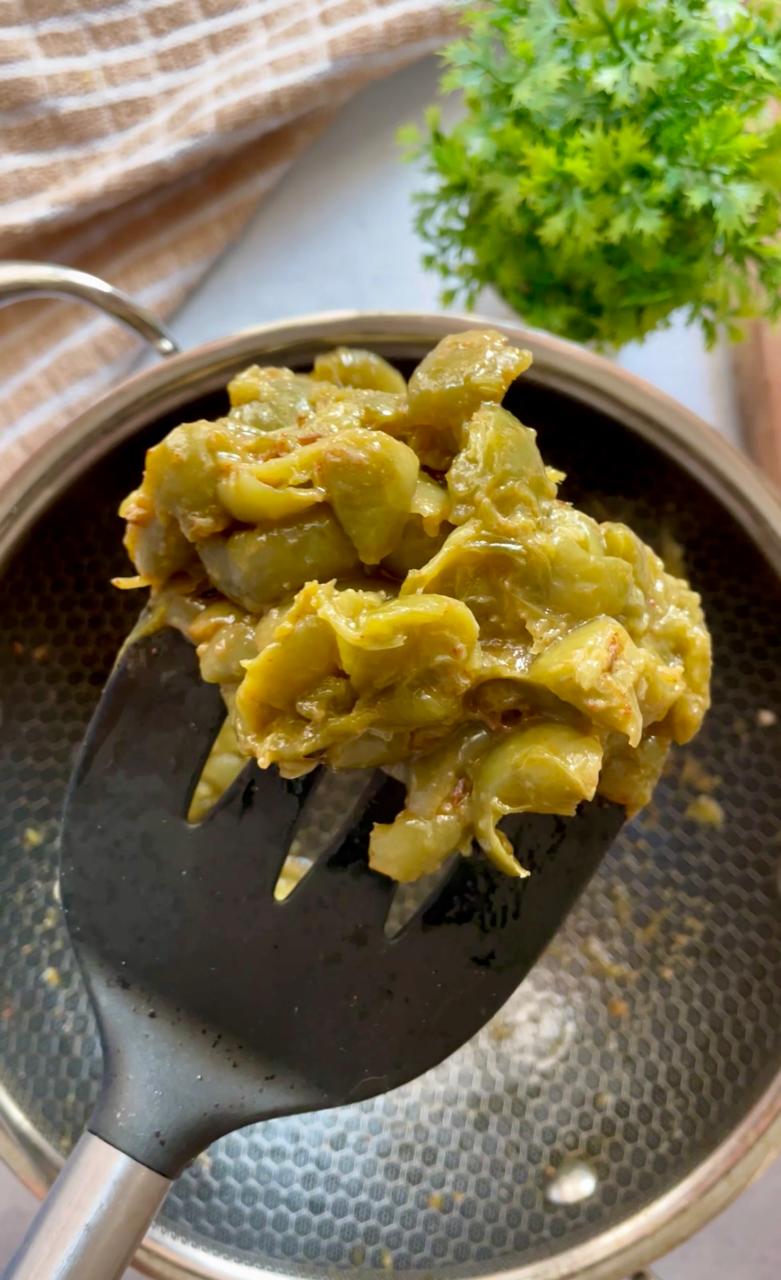
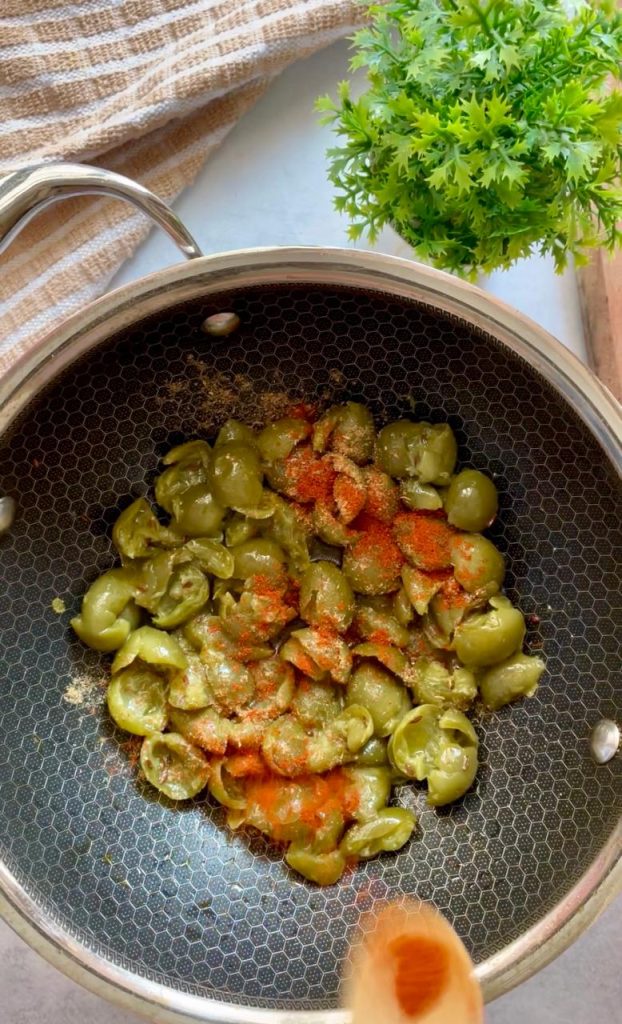
Heat mustard oil in a kadai (or any frying pan) over medium heat. Add cumin seeds and allow them to splutter. Add the boiled lesua to the kadai and sauté for a couple of minutes. Sprinkle coriander powder, garam masala powder, and red chili powder over the lesua. Stir well to coat the lesua with the spices.

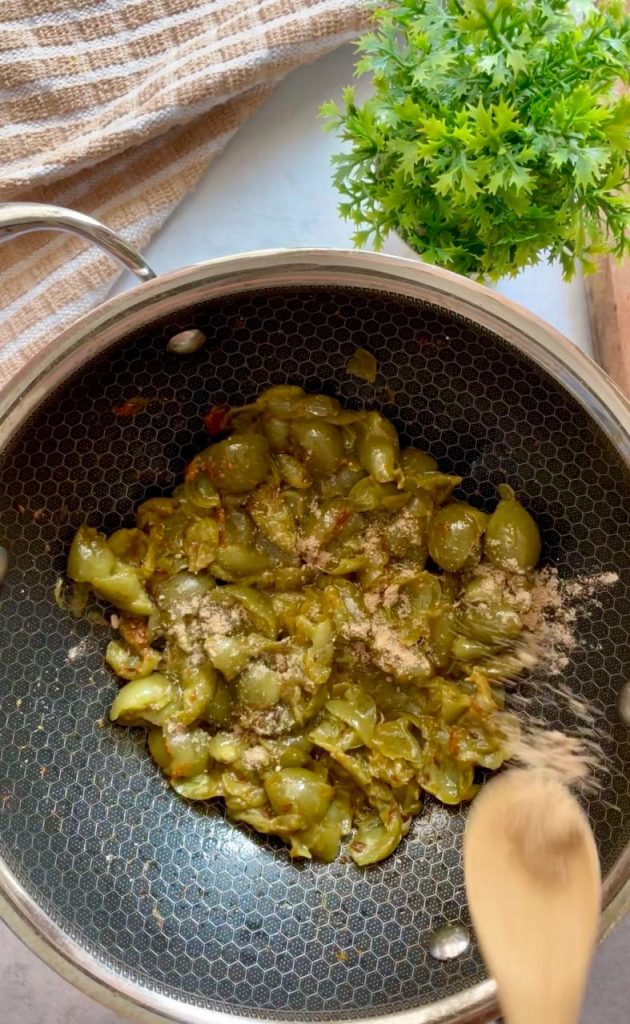
Cook the lesua with the spices for about 2 minutes, stirring occasionally to ensure even cooking. Add amchoor powder and salt to the kadai. Mix well to incorporate the spices evenly. Cook the lesua for another minute to allow the flavors to blend together.

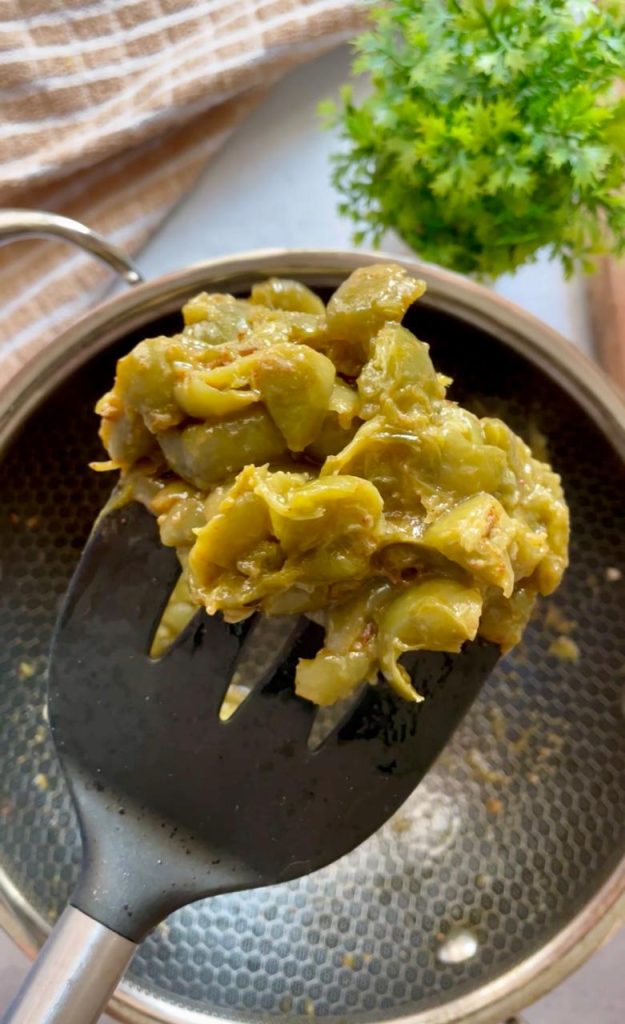
Once the lesua is cooked and coated with spices, remove from heat. Serve the lesua sabji hot with roti or paratha.

We encourage you to try out this delicious lesua sabji and share your feedback with us. If you want to enjoy this seasonal vegetable throughout the years don’t forget to check out our website for authentic lesua pickle.

Happy cooking!