Posted on Leave a comment

Indian Spiced Healthy Plum Chutney- Aloo Bukhara Chutney

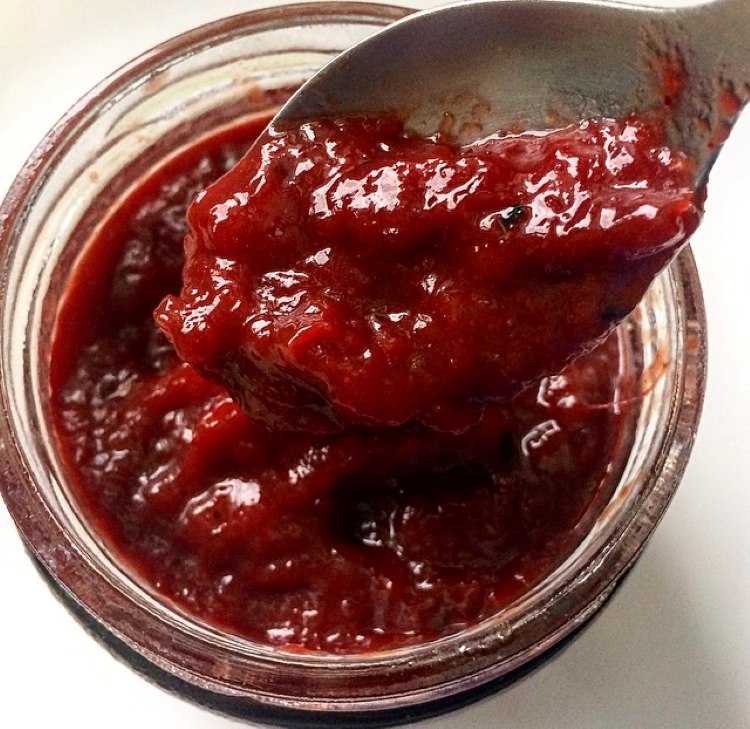
Dip, lick or eat.. This chutney is absolutely delicious. Indian Plum Chutney also known as Aloo Bukhara Chutney is a flavor bomb. It is spicy, tangy and a sweet condiment. I made this chutney for the first time in 2019. It happened by chance. I had no intention of making plum chutney. It was only when my husband got so many organic plums that we got tired of eating them. They were just lying around the kitchen counter and no one spared them a glance. They kept getting riper and riper and before they became overripe it caught my attention. And thank God they did otherwise I would have never made this chutney. 

Plums are packed with nutrients. It contains vitamin K, vitamin B3, vitamin B2, vitamin A, vitamin B6, copper, manganese, potassium & phosphorus. Plums also contain antioxidants which will help repair damaged cells and fight free radicals. The antioxidants in plums have powerful anti-inflammatory properties better than any other stone fruit. Also, if you or your child has constipation issues then, a little bit of this chutney can help in easy bowel movement because fibre in plums is extremely good. In Ayurveda, plums are known to aid digestion and strengthen immune system.

Plums are in season and before this amazingly nutritious and yummy stone fruit goes out of season you have got to make this yummy chutney for your family. I promise kids will love it too.

Fun ways to use this Chutney

  1. Use it as a spread for wraps, sandwiches, burgers or a toast.
  2. Use as a substitute for BBQ sauce for pork chops or chicken
  3. It can be an excellent addition to your cheese board to add more dimension and flavour. 
  4. My favourite way is to have it with dal and rice or with simple plain Parantha.
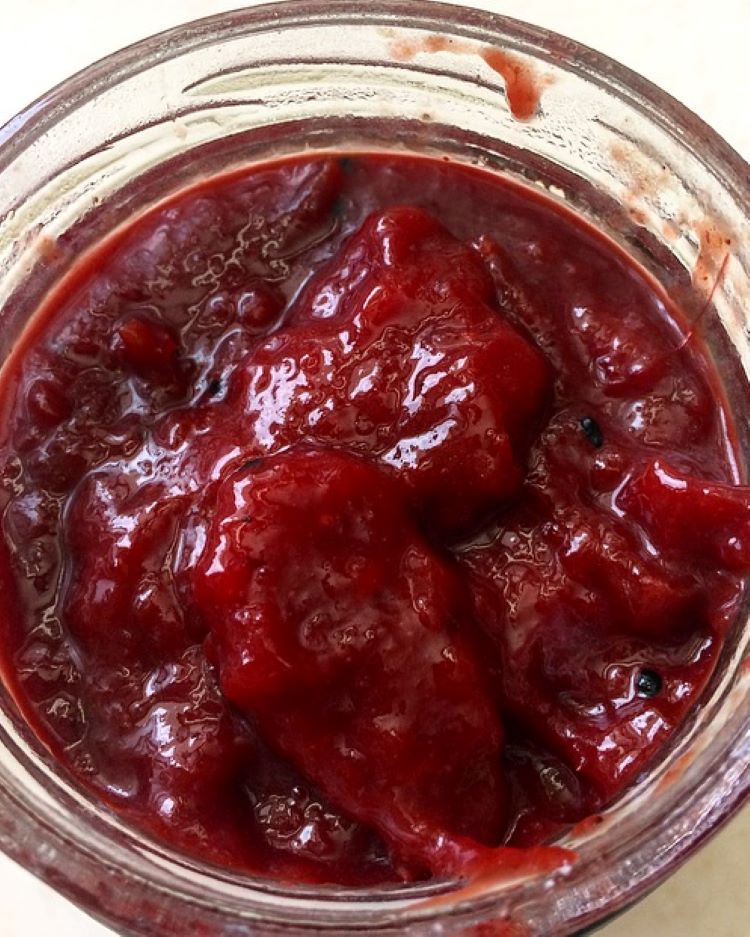
Recipe Ingredients

Plums: Always use black ripe plums that have tart skin and sweet flesh for making plum chutney.

Spices: I have used ginger, garam masala, chilli powder, kalonji (Nigella seeds), nutmeg powder, cinnamon, bayleaf, cloves and peppercorn. If you don’t have some spices, you can still make this chutney without it.

Sweetness: For sweetness I have used jaggery powder. Apart from adding nutrition, jaggery add its own earthy rich caramel flavour. You can use other sweetener like coconut sugar, palm sugar.

Black Salt or Kala Namak: Black salt has a distinct tangy and pungent flavour. It tends to give a dish a rich umami flavour. It also helps to aid digestion. You can substitute black salt with Himalayan Pink Salt.

Recipe: makes 500 grams Chutney

Ingredients

  1. Plums: 1 kg
  2. Jaggery: 250 grams
  3. Rock salt to taste: 1.5 tsp or as per taste
  4. Red chilli powder: 1/2 tsp
  5. Minced ginger: 1 tbsp
  6. Garam masala: 1/2 tsp
  7. Any Non-fragrant Oil: 2 tbsps (I used groundnut oil)
  8. Water: 1/2 cup
  9. Nigella seeds/Kalongi: 1/4th tsp
  10. Nutmeg powder: a pinch

Whole Spices

  • Bayleaf: 1
  • Cinnamon stick: 1” long
  • Cloves: 4 
  • Peppercorns: 6

Instructions

  • Chop plums roughly and add ginger to it. 
  • In a wok, heat oil. Add bayleaf, kalongi or nigella seeds, cloves, cinnamon and black peppercorns.
  • After 30 seconds, add plum and ginger mix. Cook for a minute. 
  • Break jaggery into small pieces and add to plums.
  • Stir well and let jaggery dissolve. 
  • Then add salt, red chilli powder & garam masala. Mix well. Cook for 2 minutes.
  • Now add water and let it cook for about 30 minutes or till it gets thick and jammy. 
  • Keep stirring in between. 
  • Finish it with some grated nutmeg in the end. Mix well.
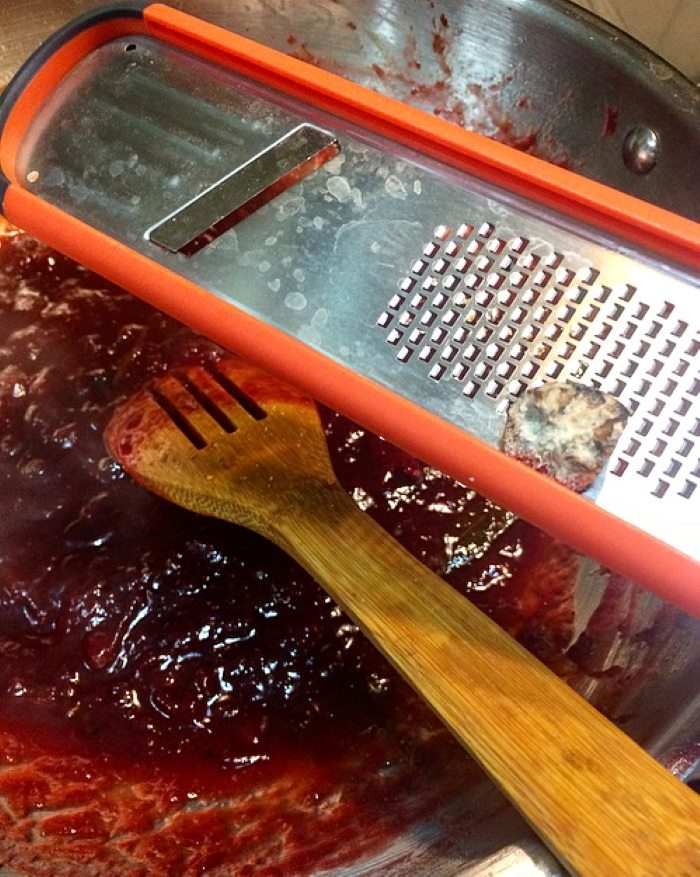
  • Let cool and the pour it in clean glass jars.

How to store Plum Chutney

Allow the chutney to cool completely before storing it in a clean dry airtight container. Refrigerate this chutney. It will last you approximately 3 to 4 weeks. However, if you are planning to make a large batch then do follow proper canning procedures. There is no point in going through all the processes of preserving, if it is going to spoil before you get to open the jar.

Notes

  • Fresh whole spices add more punch.
  • Try to get your hands on black salt or kala namak. It goes very well in this recipe.
  • Adjust sweetener as per your taste. When using ripe plums this recipe will yield a sweet tangy chutney, but not overly sweet.
Posted on Leave a comment

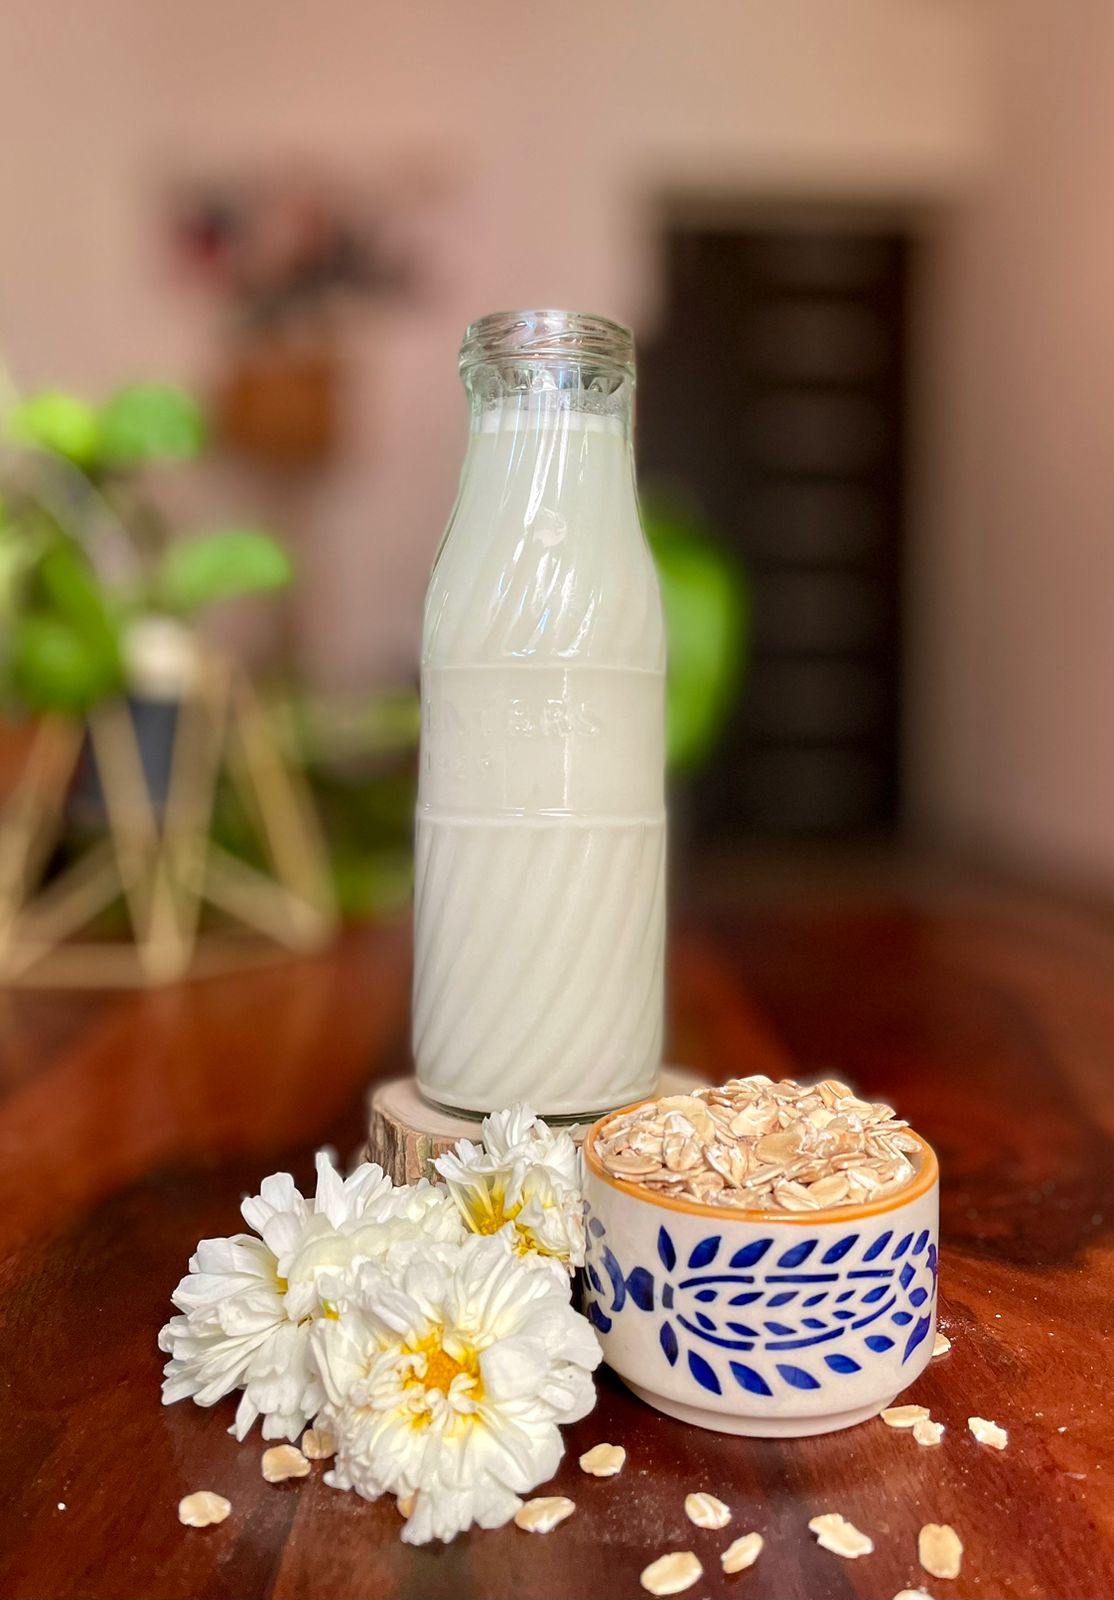
Easy Homemade Oats Milk with just One Ingredient- Non Slimy, at last

Oat milk is a creamy, plant-based alternative to dairy milk, rich in fiber and essential nutrients like vitamin D and calcium. It’s a great option for vegans, as it’s free from animal products and is environmentally friendly due to its low water and carbon footprint. Additionally, oat milk is easy to digest and can help lower cholesterol levels, making it a nutritious choice for everyone.

Oatmeal Milk Recipe
Ingredients:
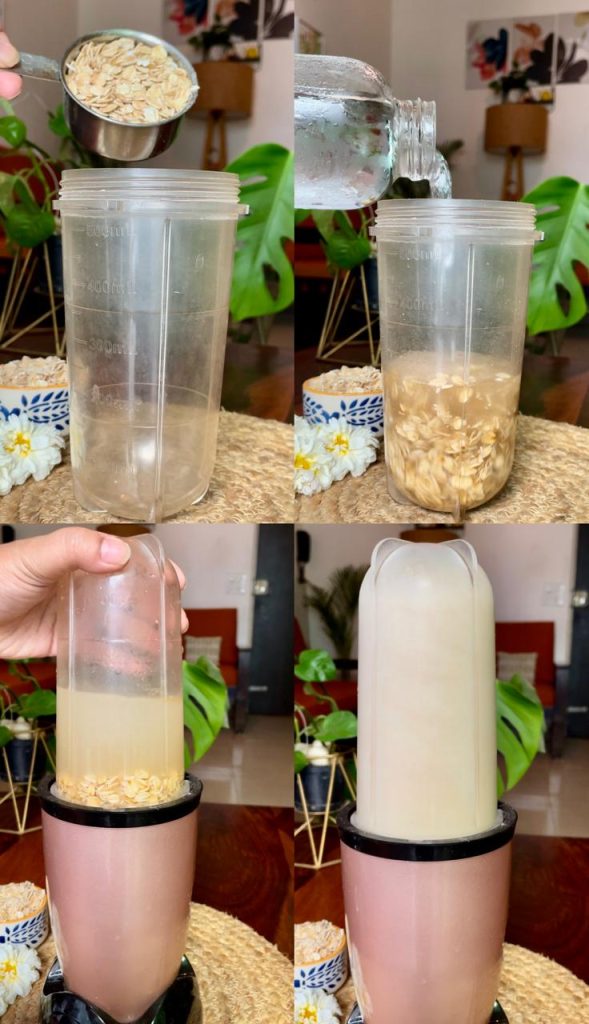
1 cup rolled oats
4 cups iced chilled water


Instructions:
Place the oats into a blender. Add 4 cups of iced chilled water to the blender. Blend on high for about 30-40 seconds until the mixture is smooth and creamy.


Pour the blended mixture through a fine mesh strainer, cheesecloth, or nut milk bag into a bowl or pitcher to remove the oat pulp. Squeeze out as much liquid as possible.

Transfer the oatmeal milk to a clean bottle or jar and refrigerate. Shake well before using.

Oat milk is an excellent choice for individuals with lactose intolerance or those who are allergic to nuts, soy, or gluten. Environmentally, oat milk production has a lower environmental impact compared to dairy and other plant-based. This makes it a sustainable choice for eco-conscious consumers.

How to Make Oat Milk Less Slimy
Here are some tips to help you make smooth, non-slimy oat milk:

  1. Use Cold Water
    Blend the oats with cold water instead of warm or hot water. Warm water can cause the oats to release more starch, leading to a slimy texture.
  2. Avoid Over-Blending
    Blend the oats and water for a shorter duration, typically around 30 seconds. Over-blending can break down the oats too much, resulting in a slimier texture.
  3. Strain Thoroughly
    After blending, strain the oat milk through a fine-mesh sieve, cheesecloth, or a nut milk bag. This helps to remove excess oat particles that can contribute to a slimy consistency.
  4. Use Rolled Oats
    Opt for rolled oats instead of instant oats or steel-cut oats. Rolled oats tend to produce less slime because they have a more consistent texture.
  5. Chill Before Serving
    Chill the oat milk in the refrigerator for a few hours before serving. This can help the milk settle and improve the texture.

By following these tips, you can enjoy smooth, non-slimy oat milk that’s perfect for drinking, adding to coffee, or using in recipes.

Posted on Leave a comment

Coconut/Thengai Dosa- Karnataka Style Spongy Dosa

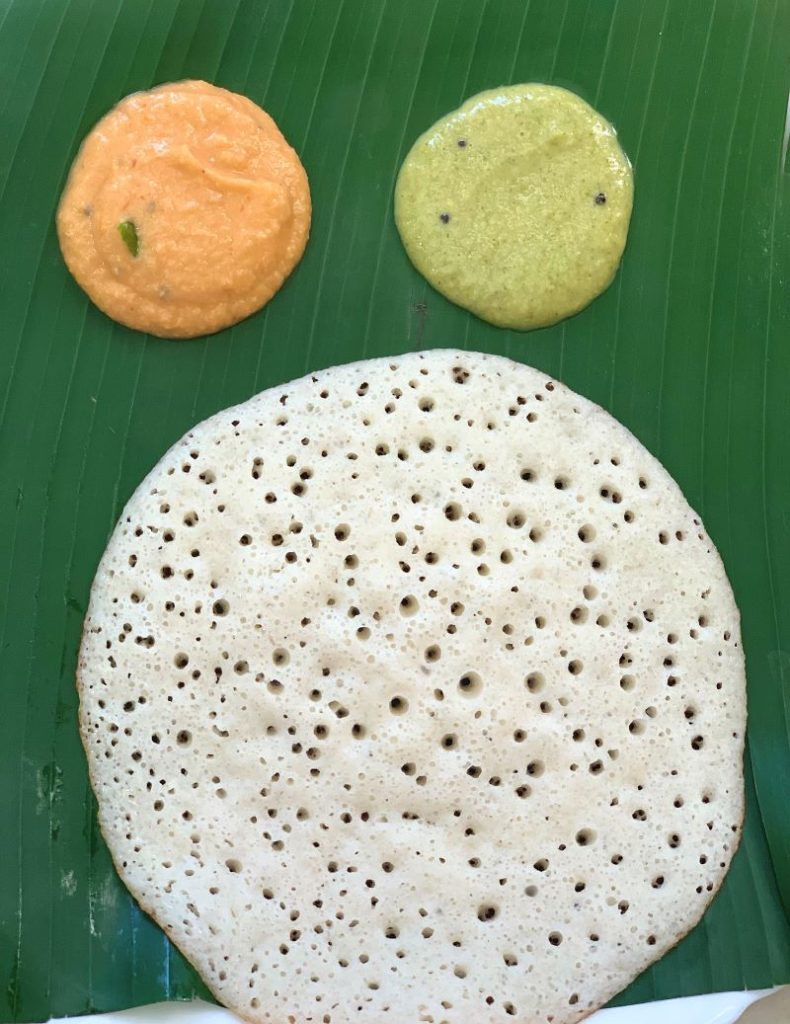
Karnataka style coconut dosa (Thengai dosai in Tamil) is a flavorful, yummy dosa variety. It is prepared with rice, poha and coconut as the main ingredients.

This dosa is so delicious. The texture is spongy, super soft and totally melt in mouth. Coconut adds a very refreshing taste to this dosa and takes the regular dosa to a whole new level. This is a healthy and a filling breakfast dish which takes only minutes to cook. Adding flattened rice, poha as we call it, makes it fluffier and softer than traditional dosas.

This is my child’s favourite breakfast meal. The first time I made this dosa some 3 years back, my child literally gobbled 4 of these. I made extra batter to last me 2-3 days and in those 3 days all he took was coconut dosa in his school lunch box too. 😄 Even today whenever I make this for breakfast, I see the same excitement on his face.

Traditionally, this is made without adding urad dal, but I added some to add more protein. You can skip it if you like. The softness in this dosa comes from natural fermentation. There is no need to add any leavening agents to it. Fermented dosa offers a wealth of nutritional value, thanks to the fermentation process. When the batter undergoes fermentation, all the beneficial micro-organisms convert sugar and carbohydrates from rice and dal to lactic acid. One of the significant benefits of fermentation is the increased bioavailability of nutrients. Also, the final product becomes easy to digest, making it an ideal choice for those with sensitive stomach or digestive issues.

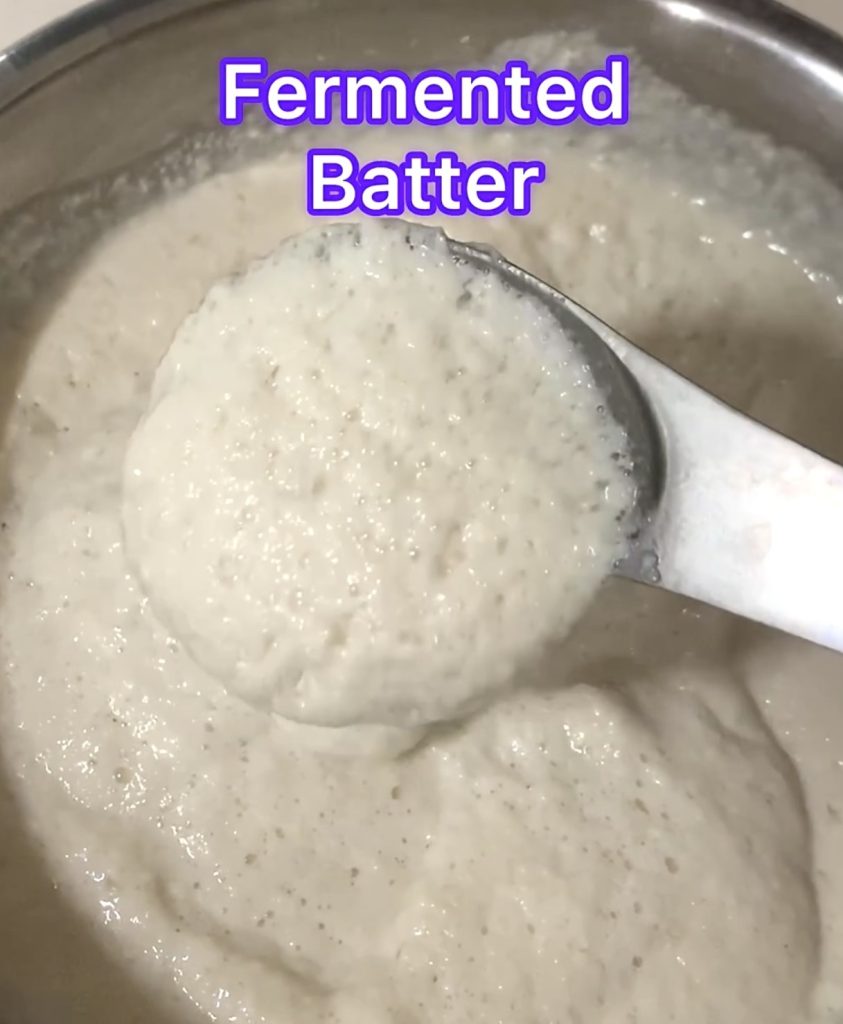
Batter consistency is the key to the success of this recipe. It should be pouring consistency batter, neither too runny nor thick like idli batter.

Recipe:

Prep time: 10 minutes Cook time: 3 minutes 
Fermentation time: 8-10 hoursServing: makes 10-12 dosas

Ingredients:

  • 1 cup raw Rice
  • 1/2 cup thin Poha/Flattened Rice
  • 1 tbsp Methi/Fenugreek seeds
  • 1/4th cup white split Urad dal
  • 3/4th cup grated fresh Coconut
  • 1 tsp Rock Salt or Himalayan Pink Salt
  • Table Salt to taste
  • Oil or Ghee to cook dosa

Instructions

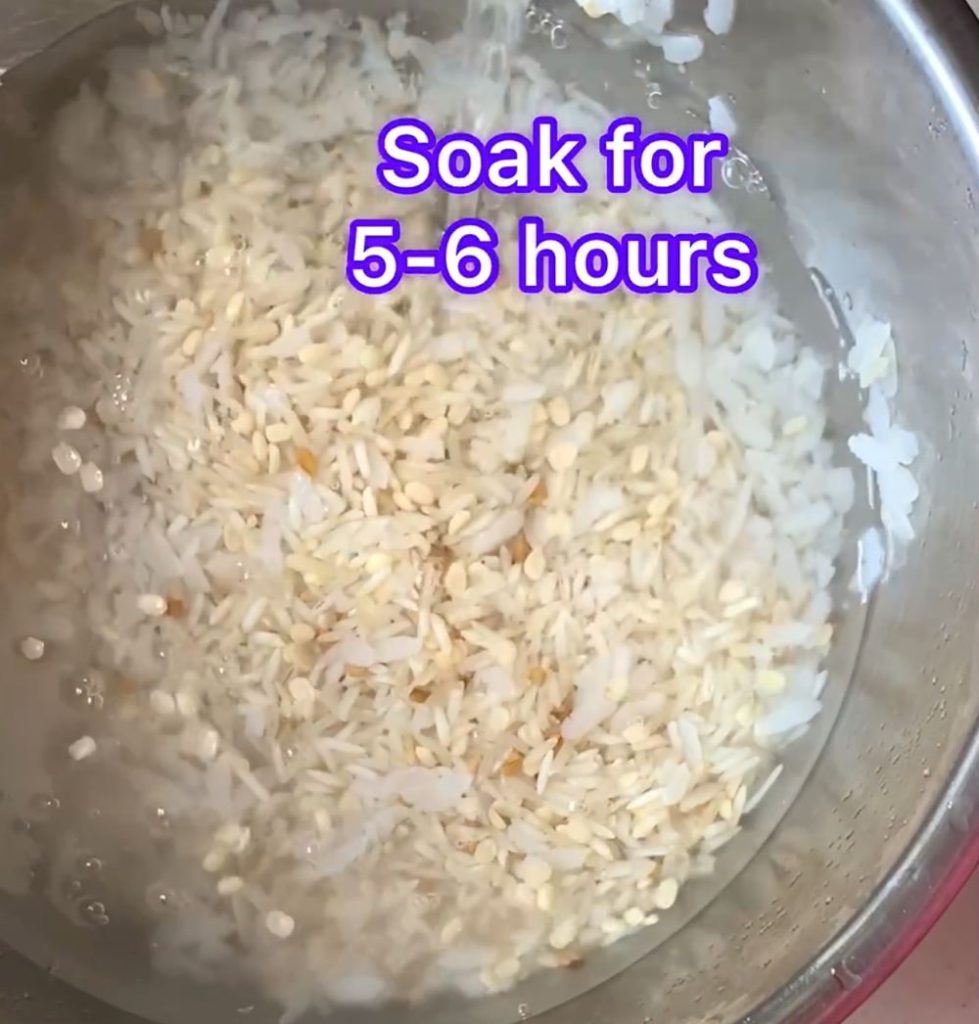
  • Wash and soak all the ingredients mentioned above except coconut for 5 hours.
  • Now, drain all the water. Add grated coconut and blend the batter to a smooth consistency. Add a little water at a time. Do not make too thin or a thick batter. Make sure everything is well combined.
  • Transfer the batter to a large bowl. Make sure there is some room in the bowl because the batter will rise during fermentation. Add a tsp of rock salt and mix well. Cover and leave the batter for fermentation in a warm place for 8 to 9 hours.
  • After the fermentation the batter will become very frothy. Add salt to taste. Now you can add regular table salt. Mix it very gently till it is well combined. Do not over mix the batter.
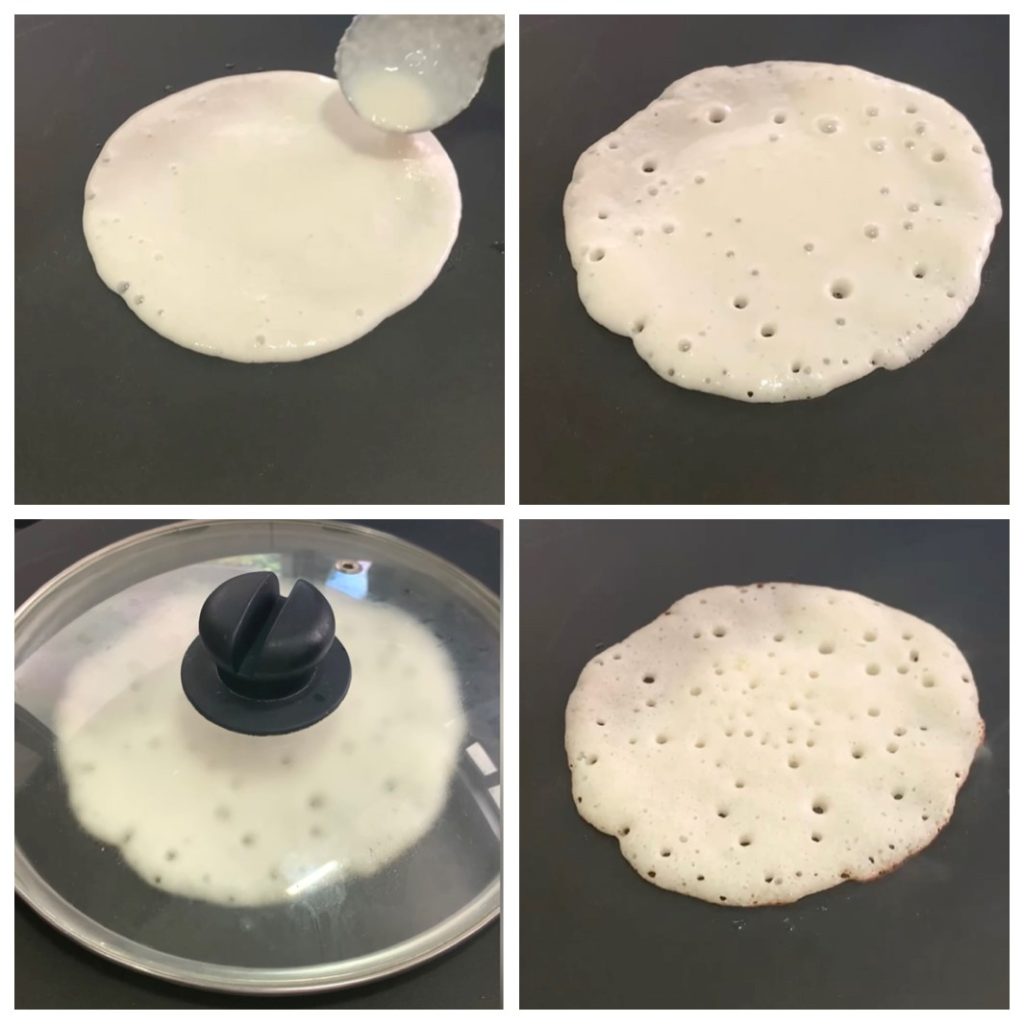
  • Heat dosa tawa on a medium heat. Add a ladle full of batter. Spread slightly. Drizzle some ghee or oil around the edges and cover it with a lid for 2 to 3 minutes.
  • Steam the dosa till top has set and the edges have browned.
  • Take it out on a plate and serve it with coconut chutney or sambar.

Fermentation Tips

  • Add rock salt to the batter before fermenting. Rock salt or Himalayan pink salt helps in fermentation. Do not use table salt.
  • Do not skip fenugreek or methi seeds. It is the main ingredient that helps in fermentation.
  • Do not add water in one go. Keep adding little by little to get right batter consistency.
  • Mix the final batter with your hands for 2 to 3 minutes and keep it in a warm place. The warmth of your hand will help in fermentation.
  • If you stay in a dry or cold place, fermentation may take more than 9 hours. You can place the batter in a pre-heated oven.

Storage

Securely seal the container and store the leftover batter in the refrigerator. The lower temperature will slow down the fermentation process, allowing you to use the batter for several days. While fresh batter tastes the best, but you store the batter for 2 to 3 days without compromising on the taste. Beyond that I do not recommend storing the batter. Freezing idli or dosa batter is not recommended. Freezing will lead to change in the texture and taste. Before using refrigerated batter give it a gentle stir to redistribute the ingredients.

Posted on 1 Comment

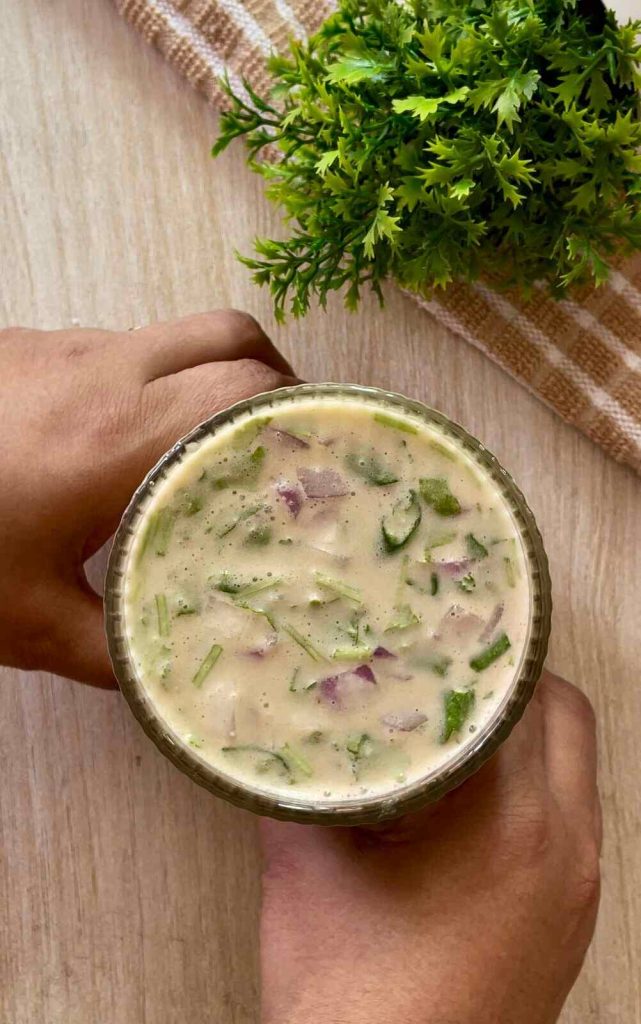
A protein packed summer special buttermilk sattu

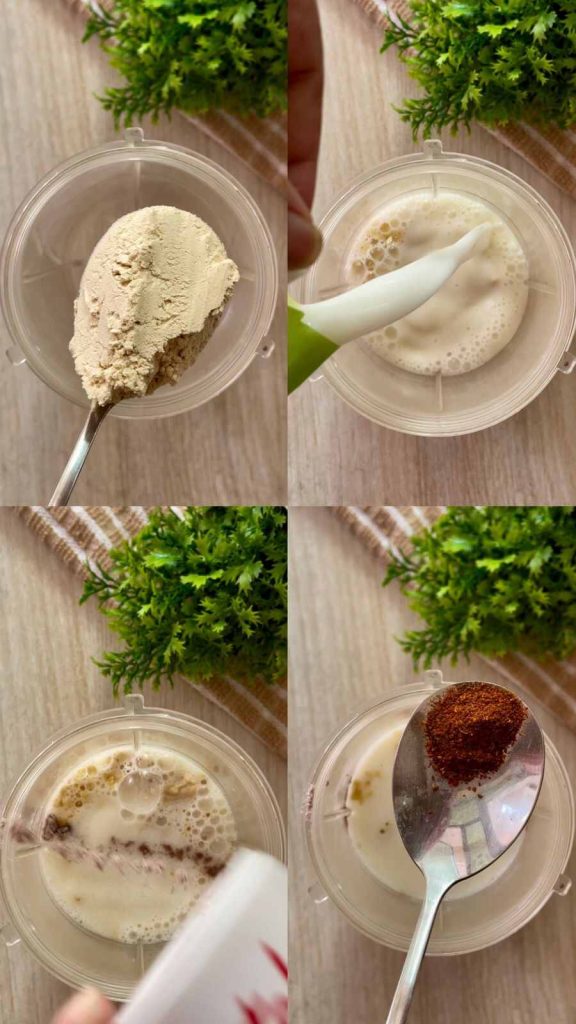
Sattu is finally getting the long awaited attention! Sattu is considered a nutritious food. It is a rich source of protein, Sattu powder mixed with buttermilk is a natural and a potent protein shake. According to health experts, it is rich in protein, fibre, calcium, iron, and magnesium. It prevents dehydration and reduces body heat. Below is the step by step recipe of sattu buttermilk.

Ingredients:

2 tablespoons sattu powder
1 cup buttermilk (chach)
1/2 teaspoon roasted cumin powder
1/4 teaspoon black salt
Finely chopped coriander leaves, onion, and green chilies for garnishing


Instructions:

In a jar or bowl, mix together the sattu powder and buttermilk until well combined.
Add the roasted cumin powder and black salt to the mixture and stir until everything is evenly distributed.


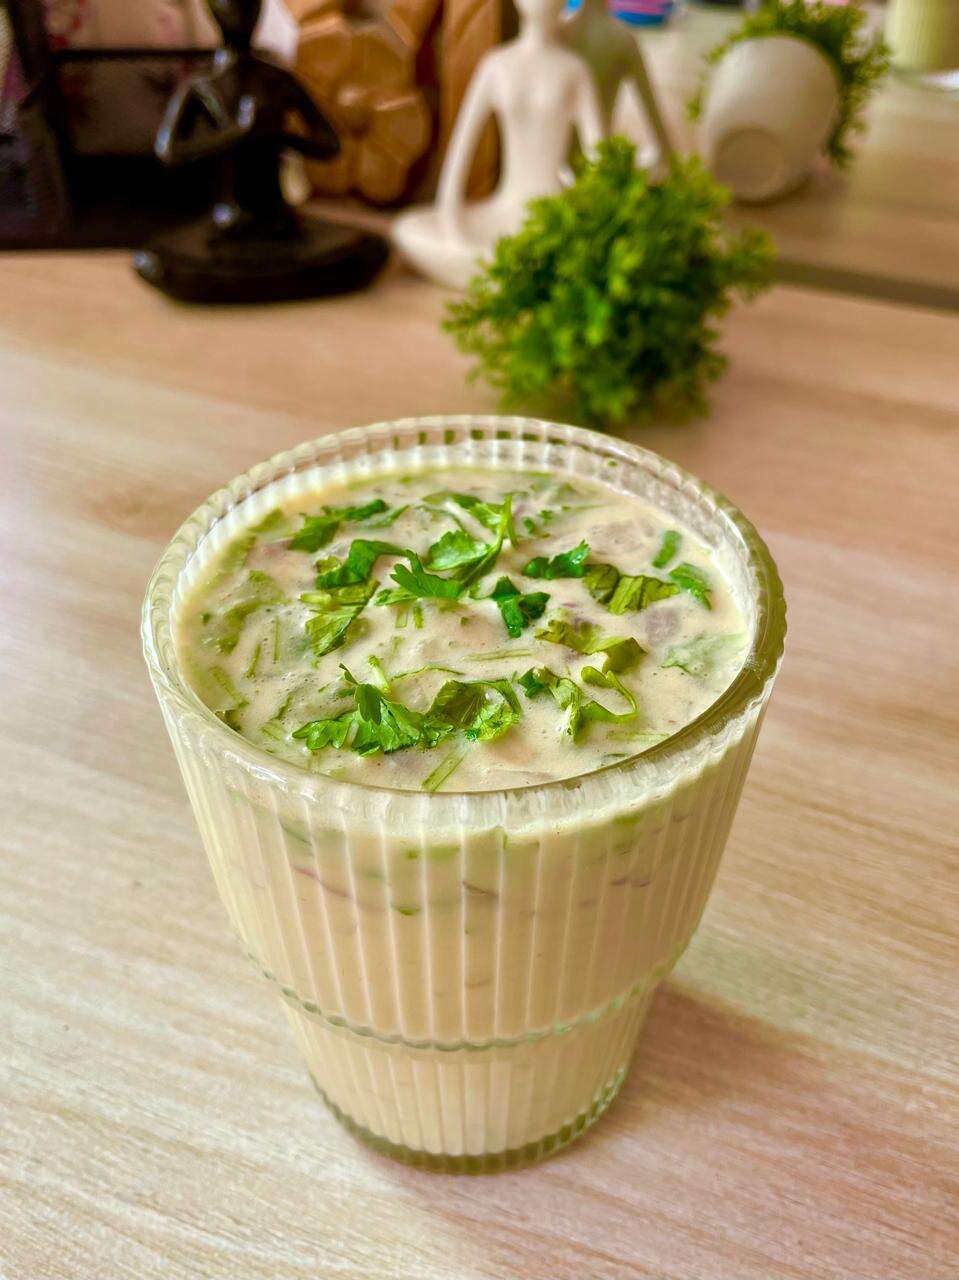
If you prefer a smoother consistency, you can blend the mixture in a blender for a few seconds. Taste the sattu buttermilk and adjust the seasoning if necessary, adding more black salt or roasted cumin powder according to your preference. Pour the sattu buttermilk into serving glasses. Garnish with finely chopped coriander leaves, onion, and green chilies.

Serve chilled and enjoy your refreshing sattu buttermilk!

You can make your own sattu at home or you can buy from numerous brands available online as well as offline. In case you are looking for a homemade, preservative free and authentic experience, without getting into hassle of grinding your own, you can always explore Masala Monk’s Sattu Mix, which ships all over India.

Do try the recipe and let me know in comments how it turns out. If you end up adding your own twist and experimenting, let me know as well – maybe I will try it that way and see how it feels.

Posted on Leave a comment

The Indian Summer Superfood: Chana Sattu

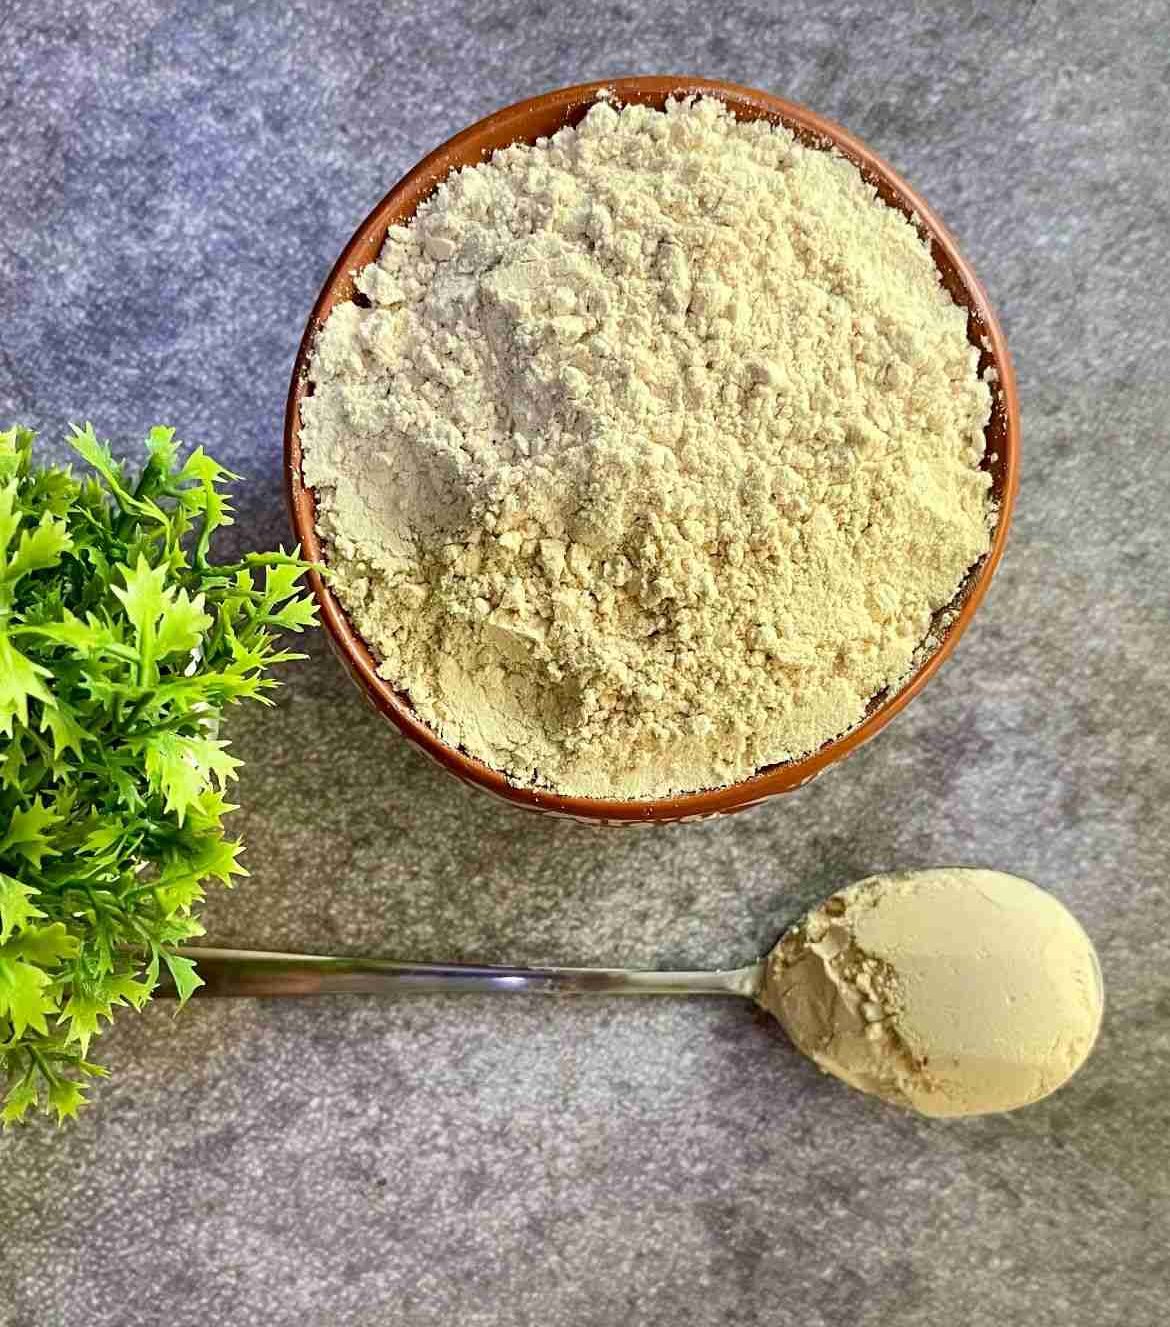
This super food has existed in our country for decades. Sattu atta or Sattu maavu is familiarly mentioned as a quick breakfast option in many households across India. A staple in Bihar, Jharkhand, West Bengal, Uttar Pradesh, Rajasthan, and Madhya Pradesh, it is cherished and consumed by laborers and farmers.

Sattu, derived from roasted Bengal gram flour, is often hailed as the “poor man’s protein” for its affordability and rich nutritional profile which is now also gaining popularity in urban areas. What earlier belonged to a few states, is now a famous and exotic food ingredient that is easily available even in supermarkets.

Growing up, sattu was not just a food item for me; it was a cornerstone of my childhood memories and experiences. In the bustling kitchen of my Bihari household, sattu was omnipresent, woven into the fabric of our daily lives in countless ways. From savory dishes to refreshing drinks, sattu featured prominently on our dining table, each serving a testament to its versatility and significance.

Interesting History of Sattu

There have been many stories behind origin of sattu. However the most common one is that, Sattu originated in Tibet where it is known as ‘Tsampa’. It was a staple travel food of monks, who traveled long distances in search of enlightenment. It was durable, easy to eat and provided them with required nutrients and energy.

Infact, in the heroic case of the 1999 Kargil War in the Batalik Sector, not many know that the win initially was achieved, courtesy Ladakh Scouts. This unit was instrumental in ensuring that not only the little battalion posted up there got their ammunition and information supply, but food as well— especially Sattu.

Health benefits of Sattu:

  • Rich source of protein: Did you know 100 grams of sattu can give you 20 grams of pure protein? Sattu is made from roasted Bengal gram flour, making it a potent source of plant-based protein.
  • High fiber content: Sattu contains dietary fiber, which aids digestion, promotes bowel regularity, and helps maintain a healthy gut.
  • Low glycemic index: Sattu has a low glycemic index, meaning it causes a slower and steadier rise in blood sugar levels, making it suitable for individuals with diabetes.
  • Nutrient-dense: Sattu is packed with essential vitamins and minerals such as iron, calcium, magnesium, and potassium, which are vital for overall health and well-being.
  • Energy booster: Sattu provides a sustained release of energy due to its complex carbohydrates, making it an ideal pre- or post-workout snack.
  • Cooling properties: Sattu has natural cooling properties, making it a popular choice during hot summer months to beat the heat and stay hydrated.
  • Weight management: Sattu is low in calories and fat, making it a nutritious option for those looking to manage their weight while still feeling satisfied and full.
  • Supports heart health: The fiber, protein, and potassium content in sattu may help lower cholesterol levels, reduce blood pressure, and support cardiovascular health.
  • Boosts immunity: Sattu contains antioxidants and micronutrients that help strengthen the immune system and protect the body against infections and diseases.
  • Promotes bone health: Sattu is a good source of calcium and magnesium, which are essential for maintaining strong bones and teeth, reducing the risk of osteoporosis.

How to select Sattu Flour?

When an ingredient becomes more popular, brand race starts to put their stamp on the product which is in demand. In this race, selecting a good brand becomes challenging. Go for indigenous variety of channa that is stone ground to a fine powder. Indigenous pure variety is easy to digest while being a source of insoluble fibre. Traditional stone grinding process preserves the natural taste, aroma, and nutritional benefits of the chana, making it a more authentic and a wholesome choice. You can explore Masala Monk’s Sattu Mix which is made from pure channa and is stone ground sattu flour.

Ways to incorporate Sattu in your lifestyle 

  • Simple Sattu Drink: This one is effective, easy and you just need a few ingredients to make this recipe. It is an easy fussy free recipe which will keep you hydrated in summer heat. All you need to do is mix sattu, lemon juice and some spices in a glass of water. Stir it well and drink this nutritious drink. For the full recipe, click here
  • Sattu Parantha: A staple in Bihar, sattu parantha is delicious and so easy to make, and you can pair it with curd and pickle. Just make simple filling with sattu, onion, green chillies and spices. Then add the filling in the middle of your parantha dough and cook. Check out the full recipe here. 
  • Buttermilk Sattu: Sattu is a rich source of protein and when mixed with buttermilk it is a natural and a potent protein shake. This drink is a quick escape from the sweltering summer heat and a refreshing twist on a classic drink that’s both easy to make and high in protein. Click here for full recipe.
  • Sattu Cheela (Pancake): A good and nutritious breakfast recipe, sattu cheela is easy to make. For this, you need is a mix of besan, sattu, spices and vegetables of your choice. It is simple protein rich breakfast recipe. Know how you can make this iron rich too. Check the recipe here.
  • Sattu Porridge: Sattu Porridge is a wholesome and nutritious breakfast option that combines sattu with creamy milk and a touch of natural sweetness. This hearty porridge provides sustained energy and keeps you feeling full and satisfied throughout the morning. With its easy preparation and customizable toppings, it’s the perfect way to start your day on a healthy and delicious note! Click here for detailed recipe.
  • Sattu Chokha: It is a humble yet flavorsome dish. With no cooking involved and no intricate techniques required, it’s a true testament to the beauty of minimalism in cooking. Made primarily from sattu, this dish celebrates the natural flavors and nutritional benefits of its core ingredient. Mixed with an array of aromatic spices and fresh ingredients like onions, green chilies, and coriander leaves, Sattu Chokha is a delightful medley of textures and tastes. Click here for full recipe.