Posted on Leave a comment

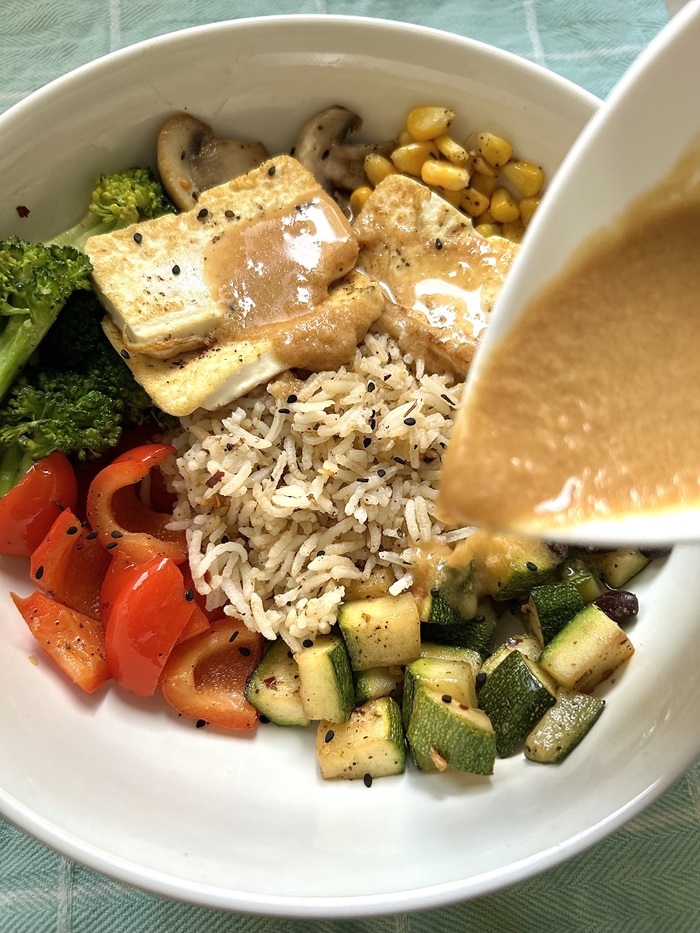
Thai Style Vegan Bowl with Peanut Butter Dressing- 30 grams Protein

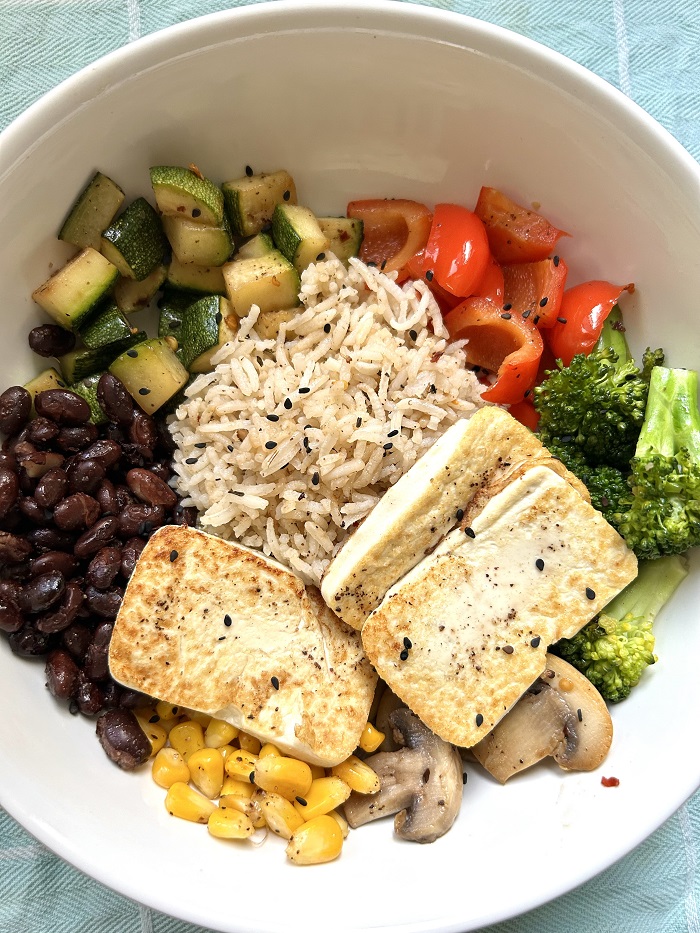
I love hassle free bowl meals which you can put together in no time. They are practical and an easy way to get your nutrients. This Vegan bowl is a beautiful combination of vibrant and colourful vegetablesnourishing whole grains, and plenty of plant-based protein accompanied by a delicious peanut dressing.

Many people consider animals as the main source of dietary protein, but plant-based protein consumption is rising in popularity. When it comes to your body’s daily function, it doesn’t matter where you get your protein from, animal or plants.

How does protein work?

Protein is crucial for our health. Every cell in our body is made up of protein. It is an important building block for body, hair, skin, hormone production, regulating metabolism, transporting nutrients and oxygen. Your body first breaks down protein into amino acids. It’s the amino acids that contribute towards proper lean mass that gives muscle fuel and gives power to your cells. There are 23 amino acids. 15 of them your body can make every single day. The balance 8 amino acids also called essential amino acids must come from food. 

Quantity of protein is only half the battle – it is the quality of the protein that matters. Whether your protein is coming from plant or animal, you must check the source of protein. It should be ethically procured. You can get all of the amino acids you need from either plants or meat. The main differentiating factor is what else is included in those foods besides the proteins for protein digestion. This will require a different post.

On the whole, eating a wide variety of foods — and especially whole, unprocessed foods — seems to achieve the healthiest balance.

Sharing with you a recipe that is balanced and can help you fulfil your protein, vitamins and minerals requirement in one bowl. 

Recipe: serves 1

Ingredients

For Herb Rice

  • 1 cup cooked Rice
  • 1 tsp Sesame oil or Olive oil
  • Salt & pepper to taste
  • 2 cloves of chopped garlic
  • 1 tsp dried Thyme leaves

For Vegan Protein (Tofu and Beans)

  • 100 grams Silken or Firm Tofu (It’s a personal choice. I like Silken tofu better texture wise)
  • Salt & Pepper to taste 
  • 1 tbsp Olive oil
  • Red Chilli flakes to taste (optional)
  • 1 cup boiled or canned Red Beans

Vegetables

  • 1/2 cup Broccoli
  • 1/2 cup diced chunks of Zucchini 
  • 1/2 cup, sliced Button Mushroom 
  • 1/4th cup Frozen Sweet Corn Kernels
  • 1/4th cup cubed, Red Bell Pepper
  • Salt & pepper to taste
  • Red pepper flakes to taste
  • 1 tbsp Olive oil

For Thai Peanut Butter Dressing

  • 1.5 tbsp Peanut Butter
  • 1/4th cup Orange Juice
  • 1 tsp Soy sauce or Tamari
  • 1 tsp Rice Vinegar or White Vinegar
  • 2 cloves minced Garlic
  • 1 tbsp Ginger juice
  • 1 tsp Lemon juice
  • 1 tsp Maple syrup or Honey
  • Salt to taste

Mix everything well in a bowl. Your dressing is ready. 

Optional Toppings

  • Sesame seeds
  • Lemon wedges
  • Mint or Cilantro leaves

Instructions

For Herb Rice

Heat oil in a pan. Cook garlic till light brown. Now add rice, thyme, salt and pepper. Gently stir till everything combines well. Cook for 2 minutes. Set aside. 

For Tofu and Red Beans

In the same pan, heat 1/2 tbsp olive oil. Add sliced thick pieces of tofu. Sprinkle some salt, pepper and chilli flakes. Sauté both sides till golden brown. While using tofu make sure you drain out all the water. If using silken tofu, handle it gently. It can break very easily. Set aside. 

For pan fried beans, add 1/2 tbsp Olive oil and boiled beans. Then add a little salt and pepper and fry the beans for 2-3 minutes. Set aside. 


For Vegetables

Steam broccoli, zucchini & sweet corn kernels for two minutes. Set aside. In a pan, heat oil. Add mushrooms, little salt and pepper & chilli flakes if using. Sauté till they release all their juices. Set aside. 

In the same pan, sauté broccoli, zucchini and red bell pepper on high flame for 1 or 2 minutes. Add a little salt, pepper and chilli flakes. Set aside.

Add sweet corn kernels, salt and pepper and sauté for 1 minute. Set aside. 

Now the fun part begins. Assembling

In a wide bowl. Add all the sautéed vegetables, herb rice, pan fried beans and top it all with tofu. Now drizzle the peanut dressing. Optionally, sprinkle with sesame seeds, chopped cilantro, and a squeeze of lime. We are adding salt at every step so, be mindful.

Enjoy good health 😊
Protein Content

  • 100 grams Tofu: 8 grams
  • 1 cup cooked red beans: 13 grams
  • 1.5 tbps peanut butter: 6 grams
  • 1 cup cooked rice: 4 grams

Total Protein: 31 grams

Substitutions

  • If not rice, you can go for other whole grains such as quinoa, millet, amaranth or barley
  • You can add your favourite vegetables like carrot ribbons, spinach, avocado, cucumber, spinach, kale, collard greens. Basically, whatever is seasonal and is easily available. You can grill them, steam them or oven bake them. For better digestion I personally prefer cooked vegetables. 
  • If not red beans, you can go for boiled or canned chickpeas, edamame or cannellini beans.

Sauce for Vegan Bowl: if you don’t like peanut butter sauce, you can opt for Tahini, Cilantro Lime Sauce, Vegan Mayo, Greek Yogurt. 

Posted on Leave a comment

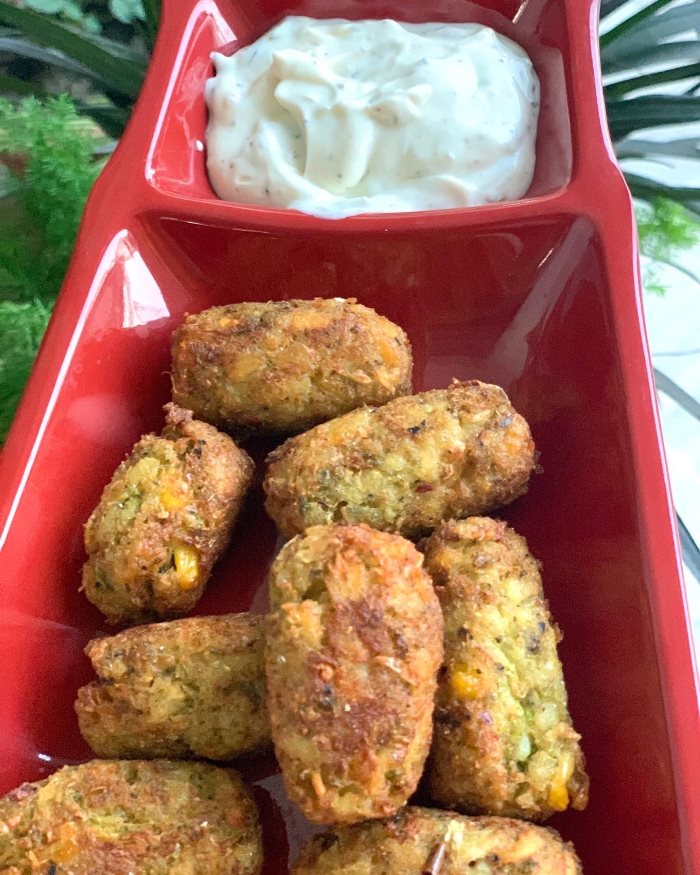
Broccoli, Potato & Corn Tater Tots- Guilty pleasures made less guilty

Before beginning the recipe, here’s a very interesting insight about Tater Tots. I am sure you know, Tater tots were invented by an American frozen food Company, Ore-Ida, in the year 1953. Tater is short for potato. This recipe came into being when the founders were trying to figure out what to do with the leftover slivers of cut-up potatoes. They chopped up the slivers, added flour and seasoning and the product was first offered commercially in stores in 1956.

Now, what I found most interesting is that, originally these tots were inexpensive. People didn’t buy it because they thought it’s cheap. It’s when the company raised it’s prices, people began buying it. Human psychology can really be weird. 😄 Today, Americans consume approximately 70 million pounds. Can you imagine!!!

Overtime recipe was developed further and potatoes were substituted with other nutritious vegetables like cauliflower, broccoli, zucchini. 

These Homemade Tater Tots are way easier to throw together than I expected them to be, and my family loved them! So say goodbye to those frozen bags of tater tots. This homemade version is super easy to make, budget-friendly, and taste way better than store-bought!

So, here’s a healthy and a delicious twist on tater tots, made with nutrient-rich broccoli and crispy breadcrumbs, perfect as a side or snack.

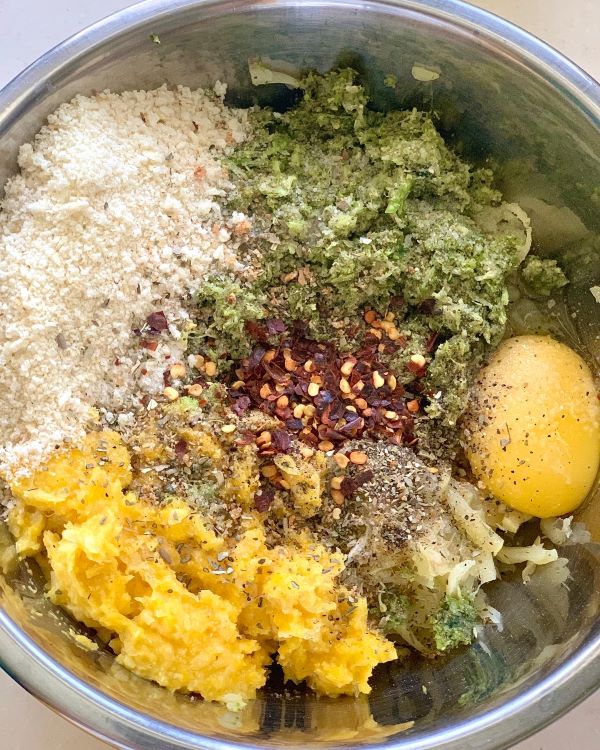
Ingredients: for 30-35 tots

  • 4 medium size boiled Potatoes 
  • 1/2 cup Sweet Corn Kernels
  • 1 large head Broccoli, approx 350 grams
  • 1 tbsp minced Garlic
  • Salt and pepper to taste
  • 1 cup Bread Crumbs
  • 1 large Egg
  • 1 tbsp Chilli flakes (optional)
  • 1/2 tsp Italian seasoning (optional)
  • 90 grams of Cheddar Cheese, grated

Method:

  • Grate boiled potatoes in a bowl. Add 1/2 cup frozen sweet corn kernels in boiling water. Keep aside for 10 minutes. You can use boiled fresh corn too.
  • Grate 1 large head of broccoli. Add 1 tsp salt to it and keep aside for 20 minutes. 
  • Squeeze out as much water as you can from the broccoli. Coarsely blend corn in a blender. Just blitz for 10 to 15 seconds. (DO NOT ADD WATER). Add both broccoli and corn to the potatoes. 
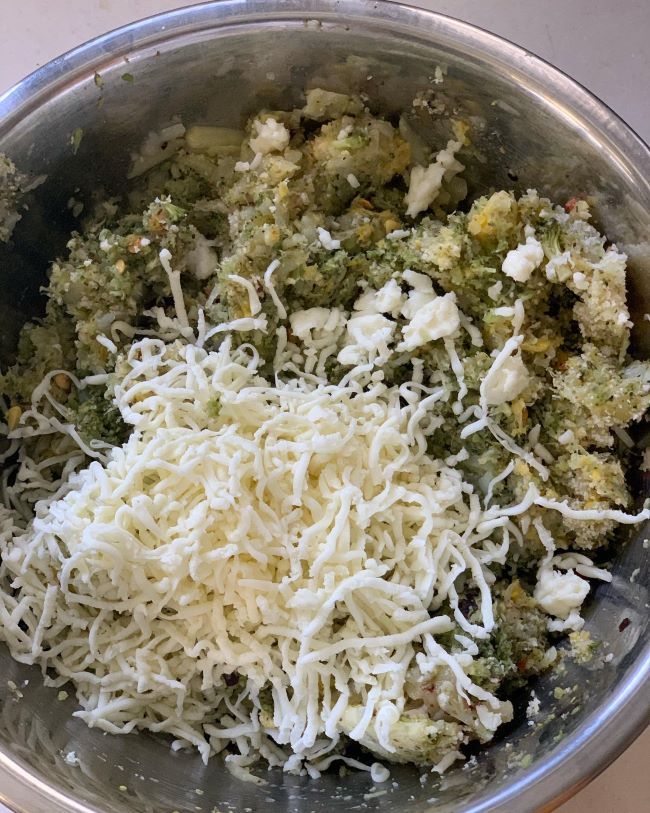
  • Now add minced garlic, salt & pepper to taste, egg, bread crumbs, chilli flakes, Italian seasoning and grated cheddar cheese (you can add more). Mix everything well and form a thick paste. If it feels sticky, add more bread crumbs. 
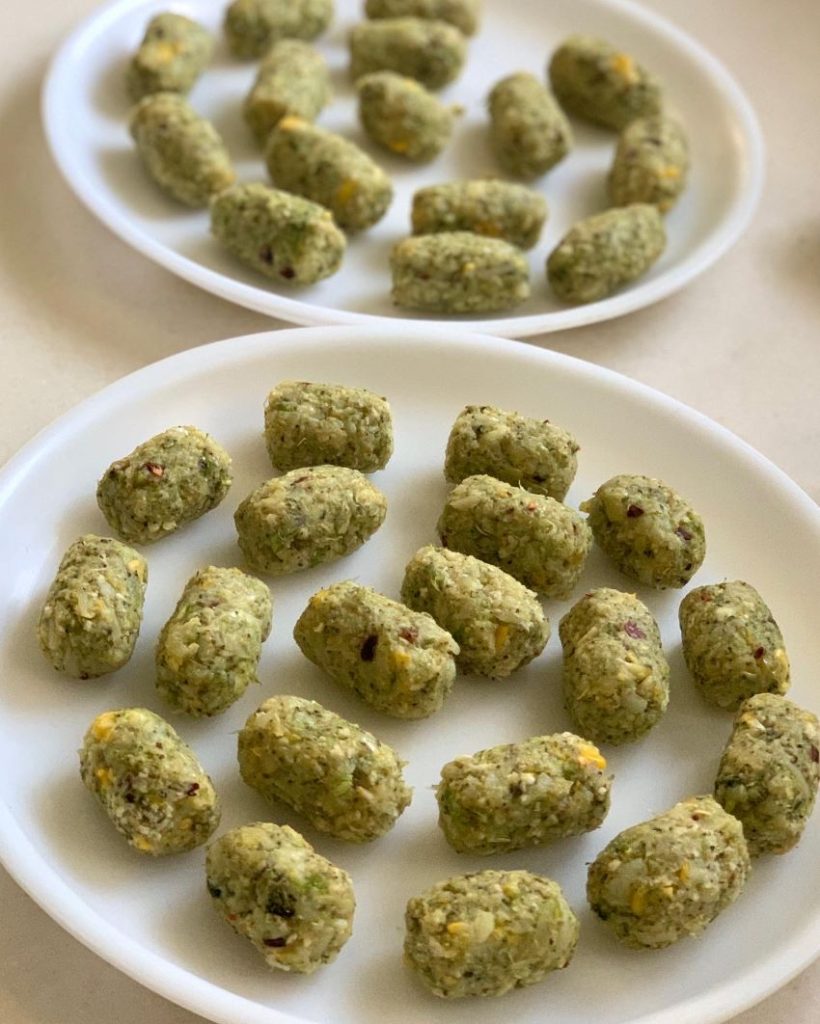
  • Check for seasoning. Once ok, give it a cylindrical shape or any shape you like. Refrigerate it for 30 minutes. 
  • Pre-heat the oven at 200°C.
  • Spray a nonstick baking sheet with oil. Alternatively, line baking tray with parchment paper and brush it with oil. Shape the mixture into tot shapes and spread them evenly on the sheet.
  • Bake for 8–9 minutes. Flip and then bake for an additional 8–9 minutes on the other side until golden brown.
  • Serve it with ketchup, mint chutney or tzatziki (hung curd dip). I personally enjoy them with tzatziki.

Enjoy!!! 🙂

Posted on Leave a comment

Honey Garlic Chicken: A Scrumptious Dinner Ready in 15 Minutes!

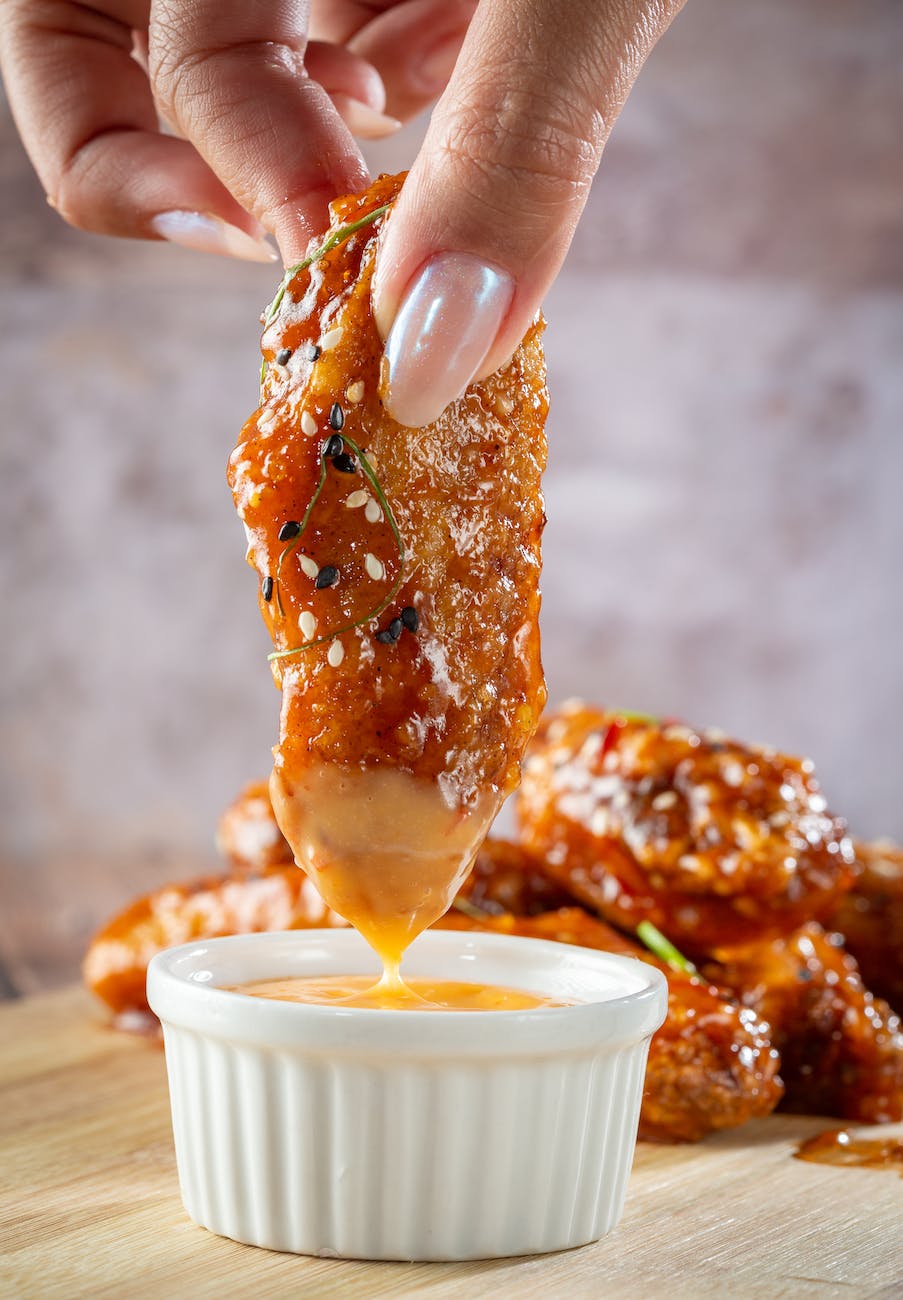
a dish of glazed chicken wings with a dip

Hello, food enthusiasts! 🍽️💕 Today, we’re exploring a quick and easy recipe that’s perfect for those busy weeknights when you want a delicious meal without spending hours in the kitchen. We’re talking about Honey Garlic Chicken, a dish that’s not only incredibly flavorful but also ready in just 15 minutes! This fantastic recipe comes from the YouTube channel Delicious and easy recipes, a go-to place for anyone looking for simple yet tasty meal ideas.

🍯 The Magic of Honey Garlic Chicken 🍗

Honey Garlic Chicken is a popular dish known for its sweet and savory flavor profile. The combination of honey and garlic gives the chicken a rich and aromatic taste that’s hard to resist. Plus, it’s a versatile dish that can be served with a variety of sides, from steamed vegetables to fluffy rice.

🍽️ The Recipe: How to Make Honey Garlic Chicken 🍯

The recipe starts with two chicken breasts, which are seasoned with salt and black pepper. The chicken is then coated in all-purpose flour, which helps to give it a nice, golden crust when cooked.

Next, the chicken is fried in 40 grams of butter for 4 to 5 minutes on each side until it’s beautifully golden and crispy. Three cloves of garlic are then added to the pan, infusing the chicken with their aromatic flavor.

The dish is then finished with a delicious sauce made from 20 grams of butter, 1 tablespoon of light soy sauce, 1 tablespoon of vinegar, and 5 tablespoons of honey. The sauce is poured over the chicken, coating it in a sweet and tangy glaze that’s simply irresistible.

🌱 Garnishing the Dish 🌱

To add a pop of color and freshness to the dish, it’s garnished with spring onions. The spring onions not only add a vibrant touch to the dish but also provide a nice contrast to the sweet and savory flavors of the honey garlic sauce.

🍴 Enjoying Honey Garlic Chicken: Tips and Suggestions 🍽️

When enjoying Honey Garlic Chicken, here are a few tips and suggestions:

  • Feel free to adjust the amount of honey and garlic to suit your taste. If you prefer a sweeter sauce, add more honey. If you’re a fan of garlic, feel free to add an extra clove or two.
  • This dish is best served hot, straight from the pan. The honey garlic sauce is delicious when it’s warm and glossy, coating the chicken in a layer of sweet and savory goodness.
  • Honey Garlic Chicken makes a great main dish for any meal. Serve it with a side of steamed vegetables or fluffy rice for a complete and satisfying meal.

🎉 Join the Foodie Community! 🍽️

If you try this recipe or have other delicious recipes to share, join the vibrant and engaging food lovers community on Facebook. It’s a place where you can share your culinary experiments, discover new recipes, and connect with fellow food enthusiasts.

🙏 Credits 🙏

A big thank you to Delicious and easy recipes for sharing this fantastic Honey Garlic Chicken recipe. Their channel is a treasure trove of delicious recipes that are easy to follow and absolutely delightful to taste. If you’re a fan of quick and easy recipes, be sure to check out their YouTube channel for more culinary inspiration

So, are you ready to bring a taste of Asian cuisine into your kitchen? With this Honey Garlic Chicken recipe, you can enjoy a delicious and unique meal right at home. Happy cooking! 🍽️🎉

Remember to check out more amazing recipes on Delicious and easy recipes‘s YouTube channel. Enjoy the delicious day! 🌞🍡🌭